Independent Renault Forums banner

Clio Radio Display

1 reading
54K views 36 replies 16 participants last post by  lampet  
#1 ·
How do i take out the radio display in a 2002 Clio 1.2 16v so i can change the bulbs at the back, its very dim and hard to read.
 
#2 ·
I had a practice at the breakers yard on a clio so i was able to get at the bulbs for the lcd display on my own today. Its quite a long process considering its just a bulb. I took pictures of how it was done.

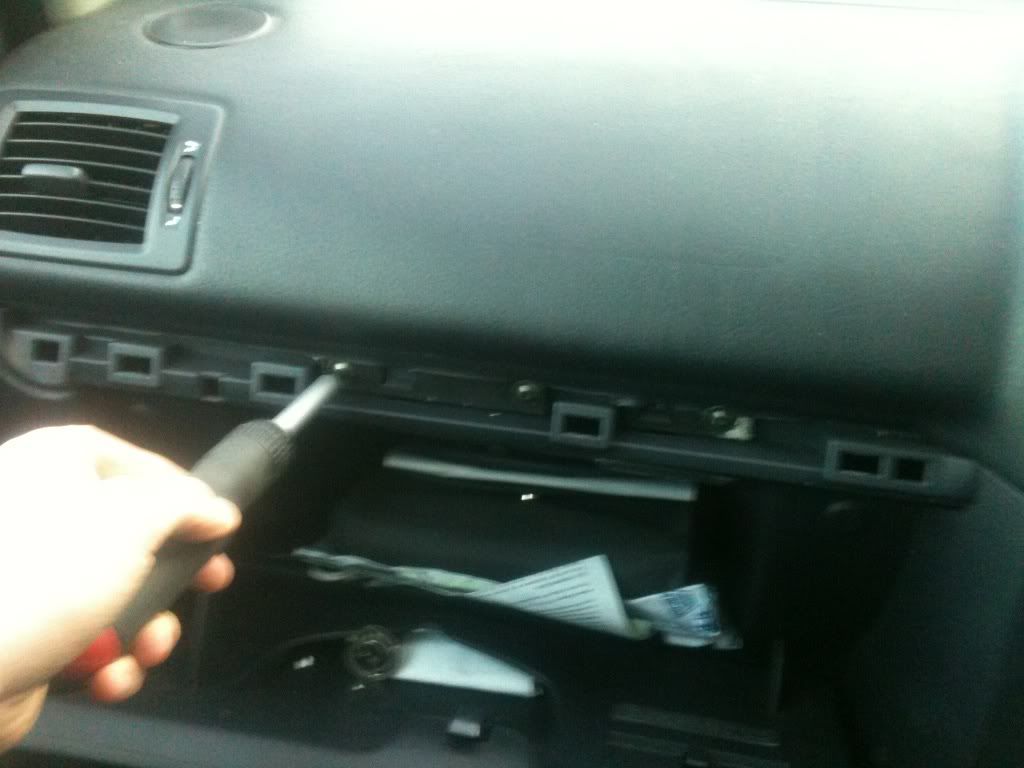
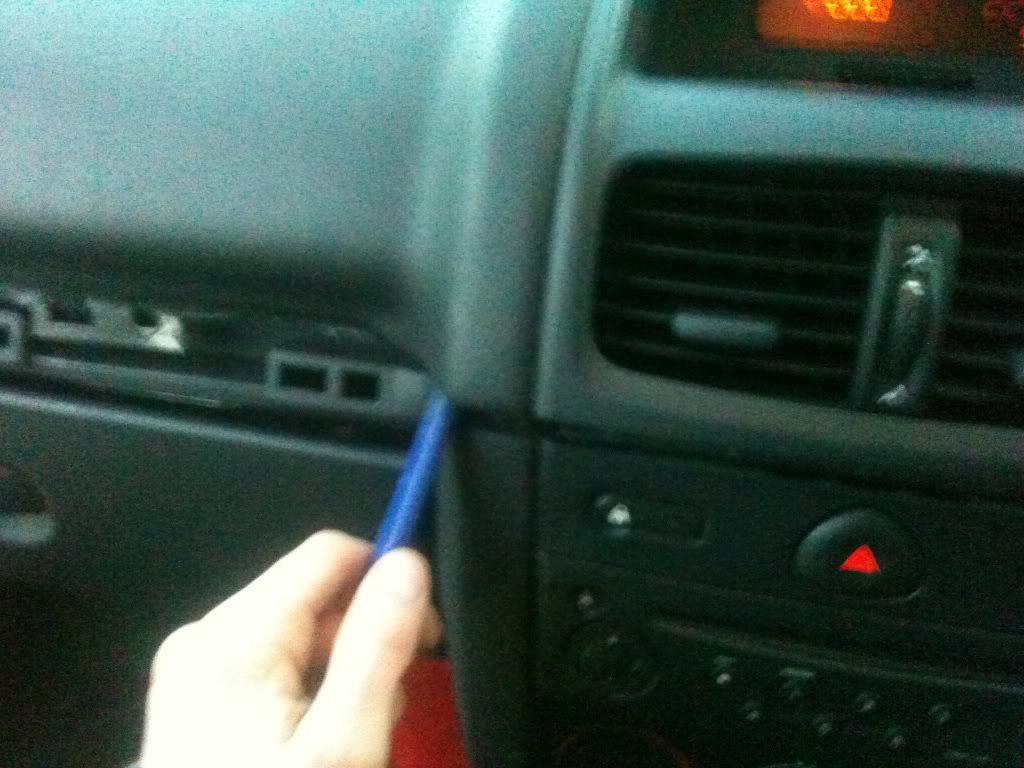
The first thing to do is to pry off the trim above the glove box lid, screwdrivers work, but since the plastic isn't very strong id advise using plastic pry tools:
Image

Image

under that there is 3 torx bolts which need to come off:
Image


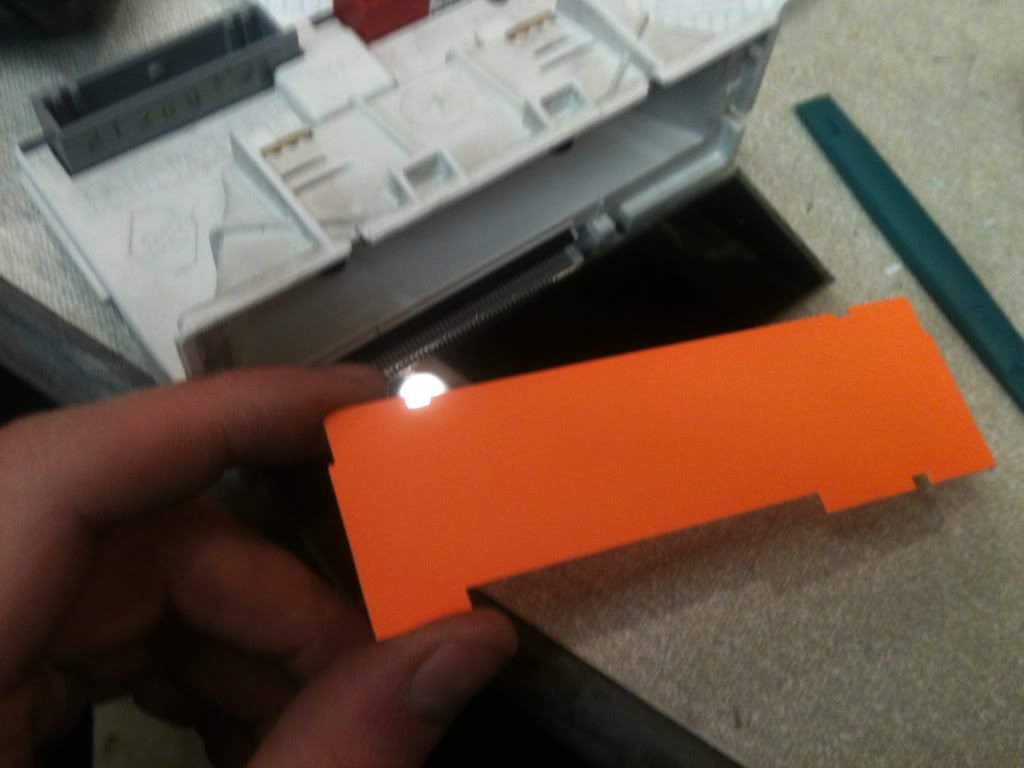
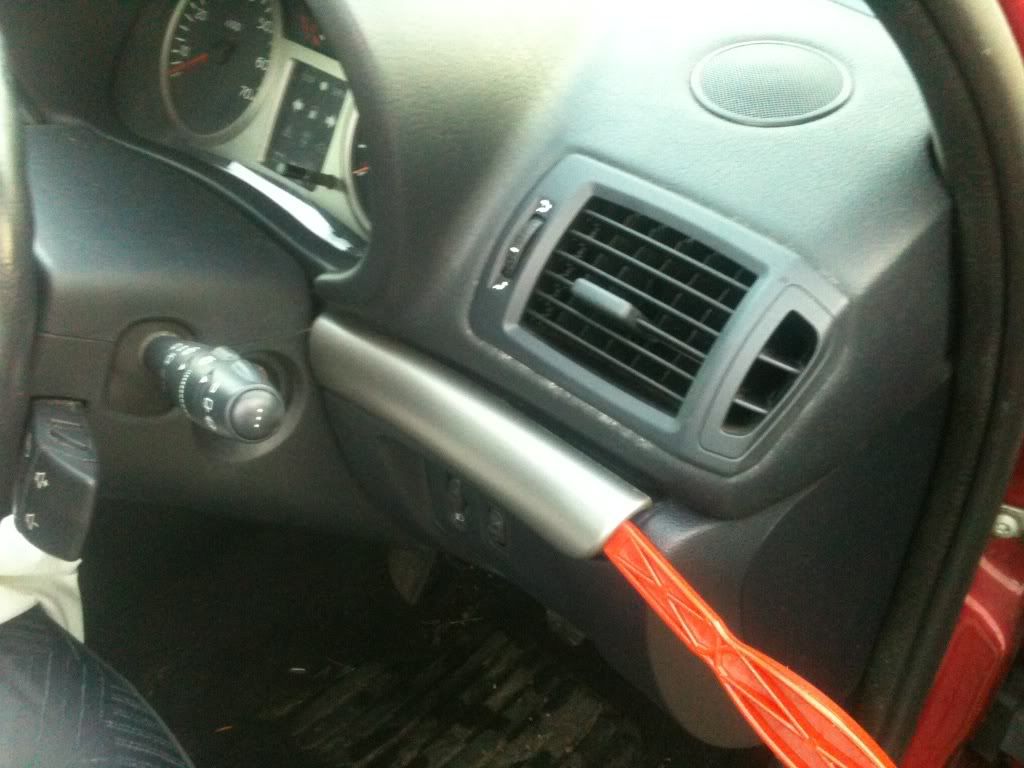
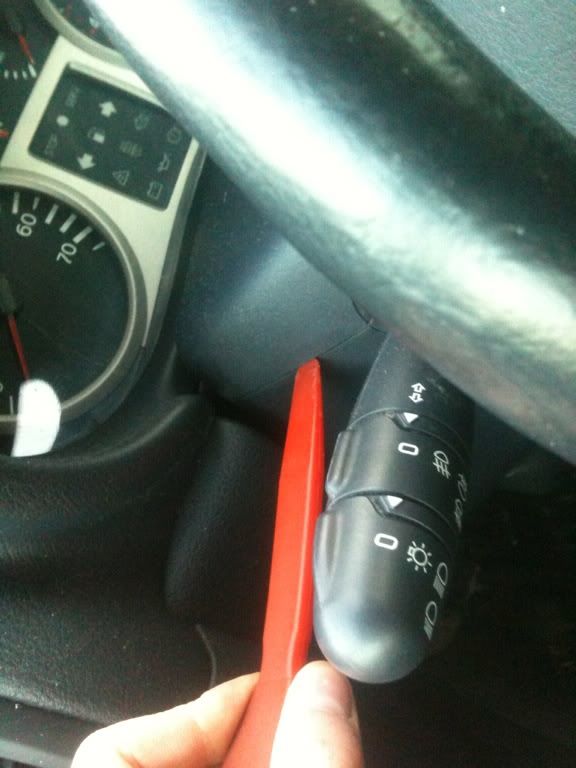
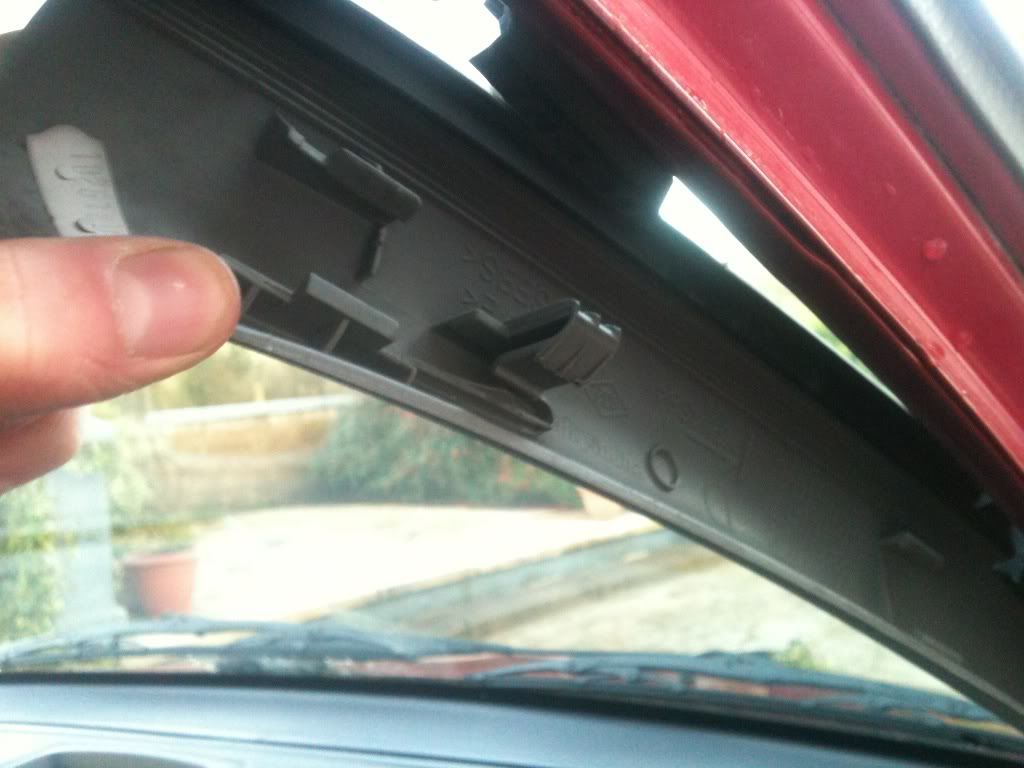
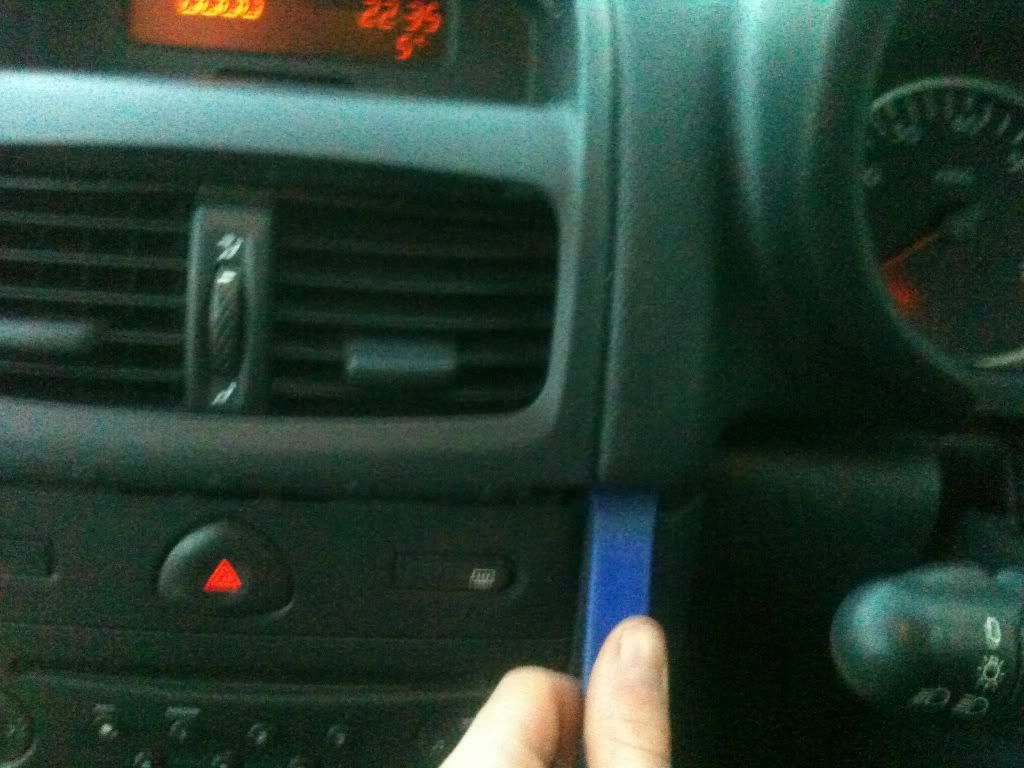
There is another bit of trim on the drivers side which needs pryed off:
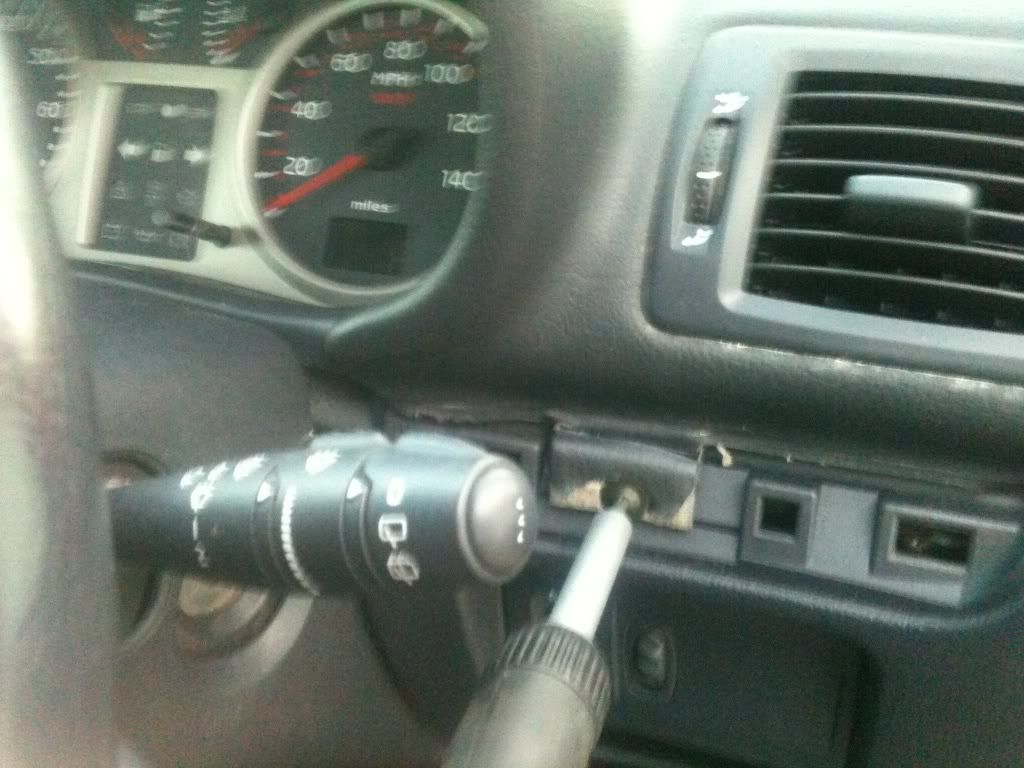
Image

Image

and one torx bolt:
Image


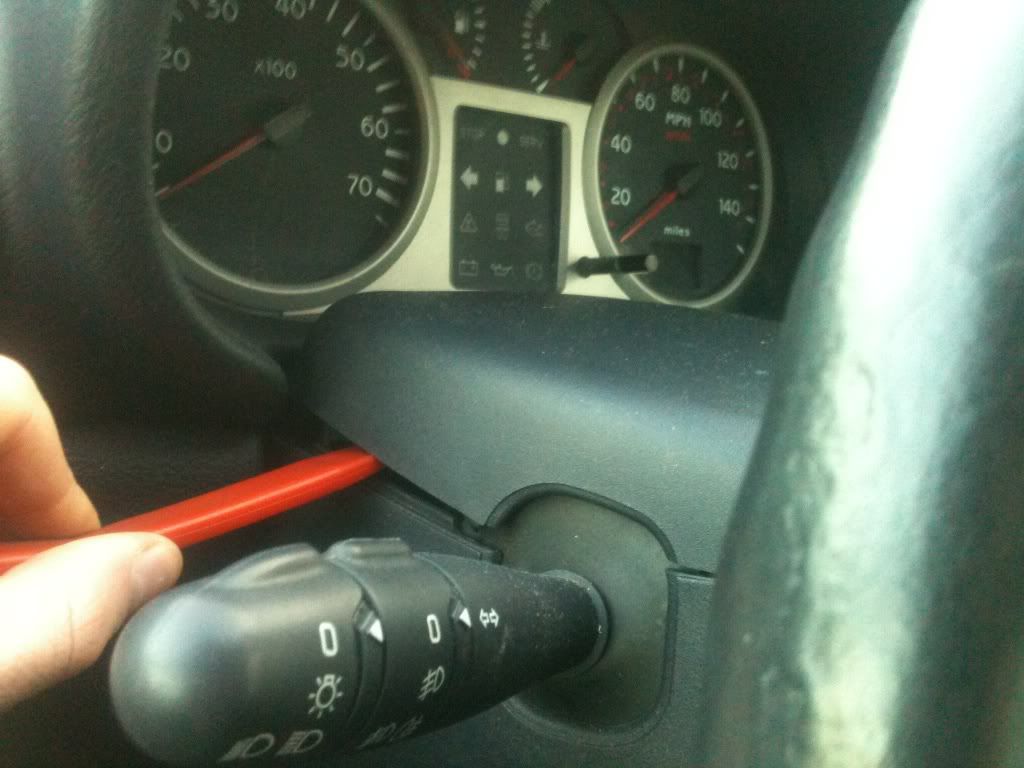
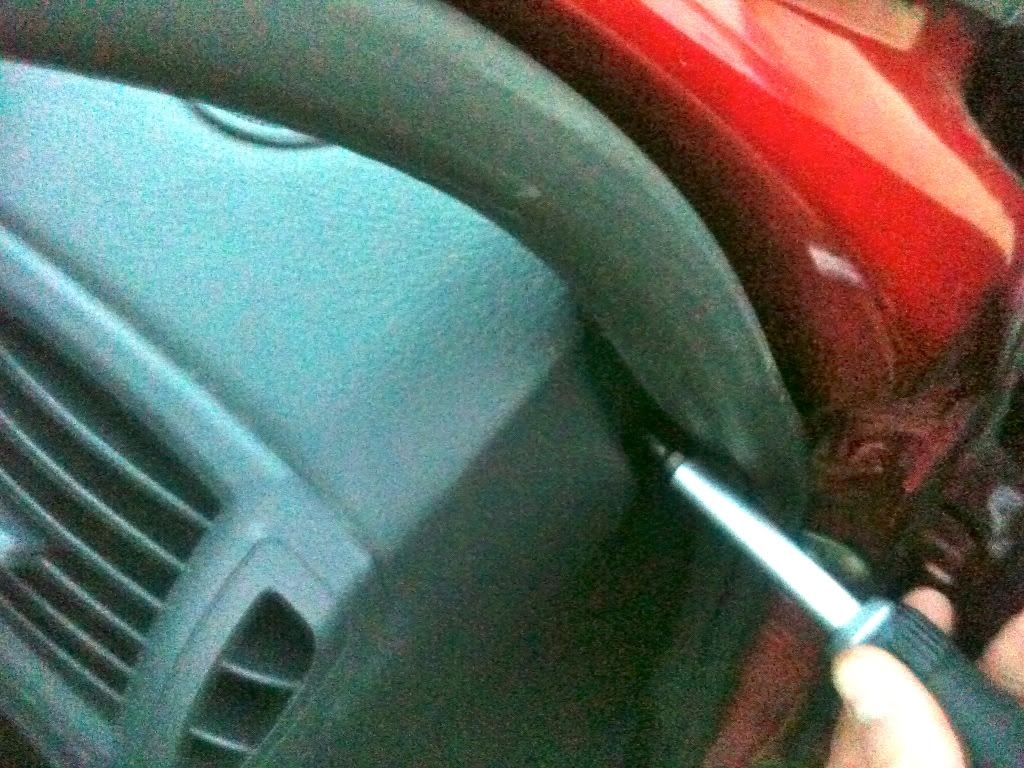
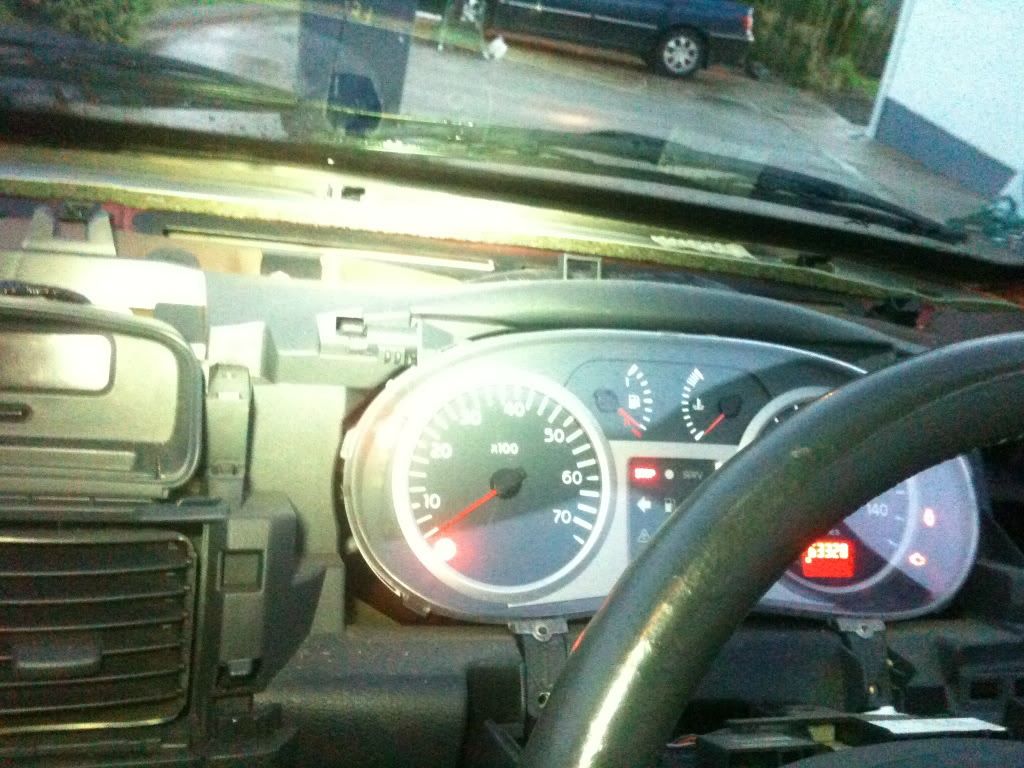
with that done there is a pair of torx bolts at the bottom of the speedometer, but i couldn't get anything in to remove them so the steering wheel surround need to come off, its just clipped into place, so pry it off to reveal the bolts:
Image

Image

Image

Image

Image


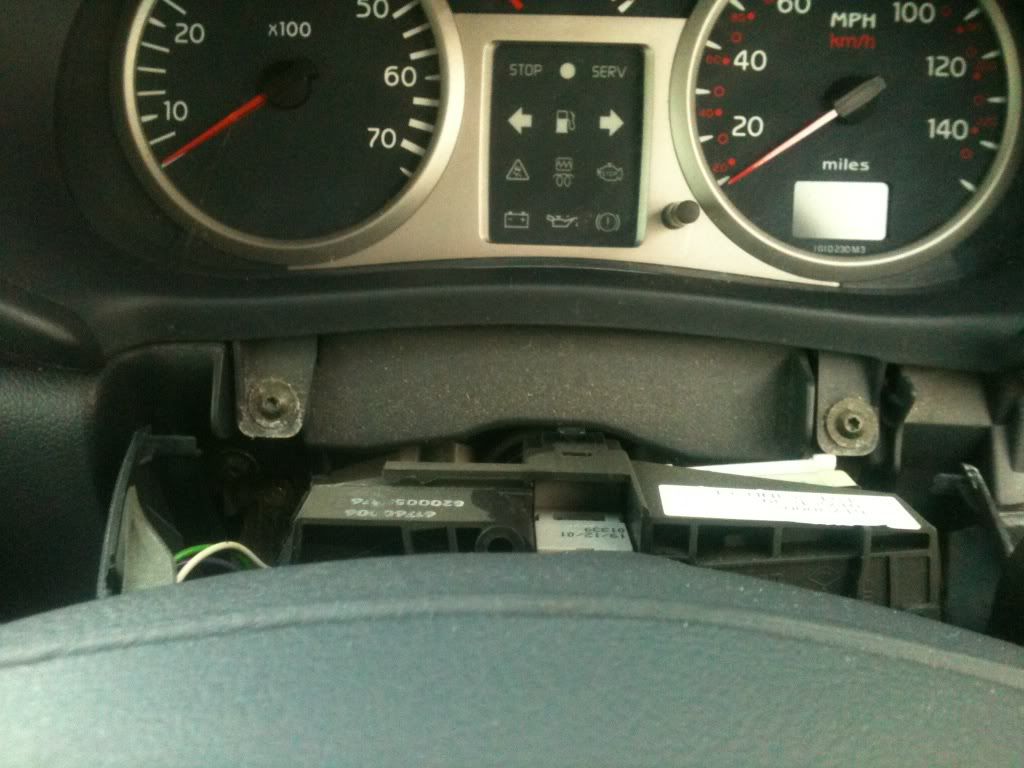
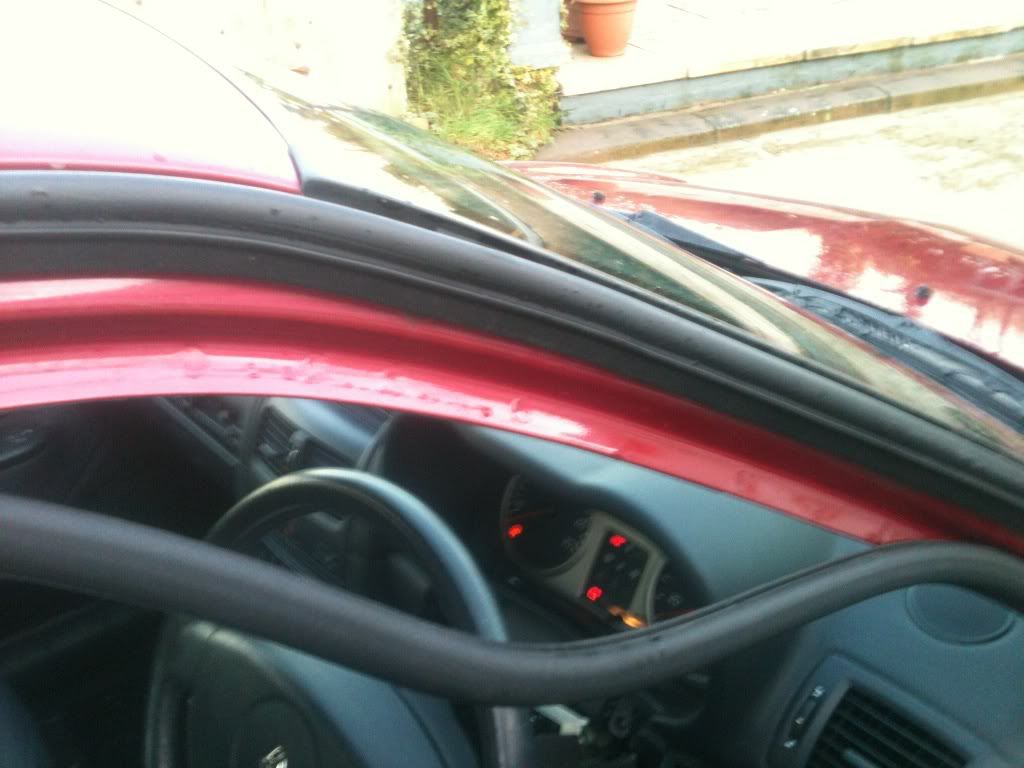
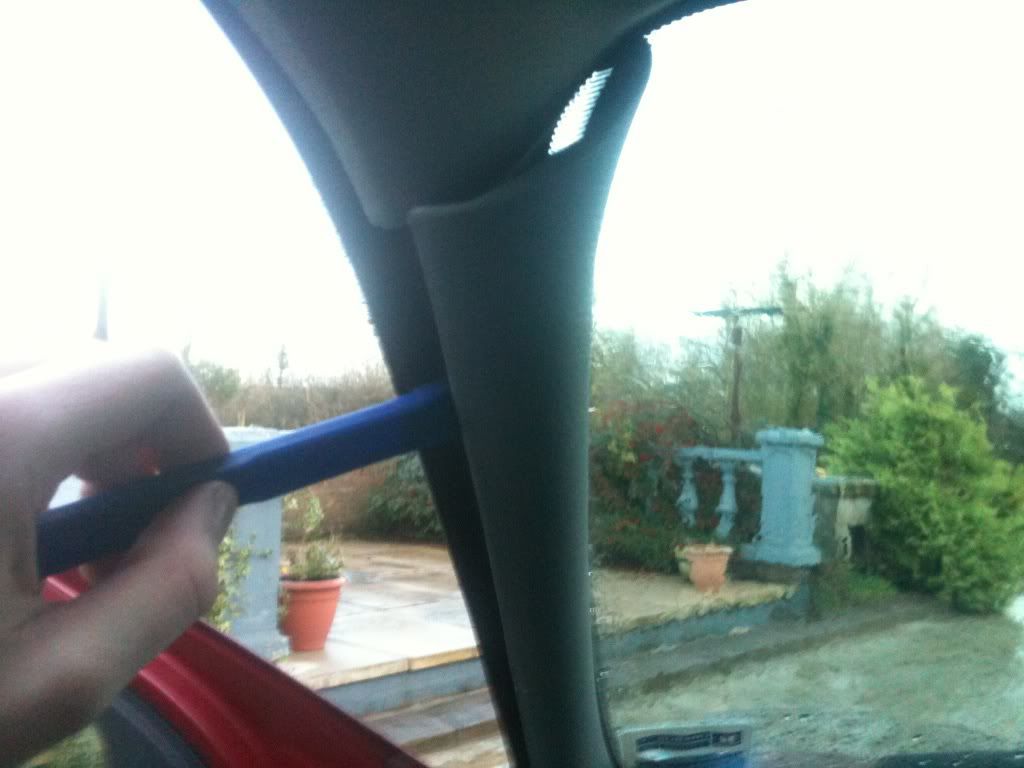
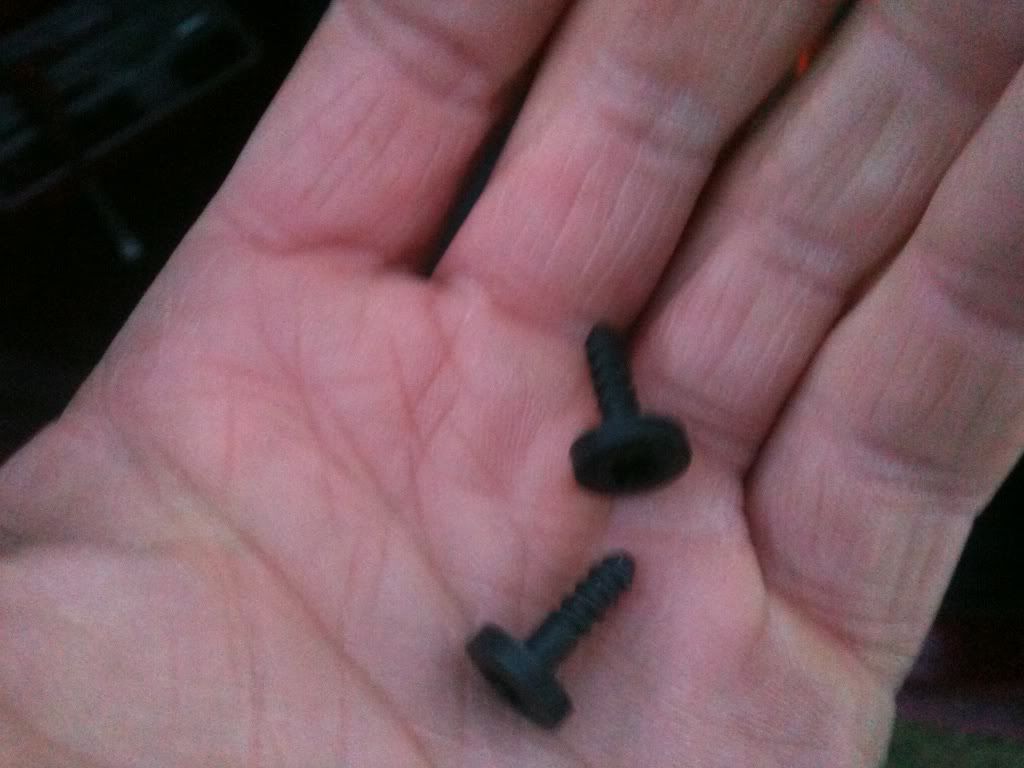
Then there is 3 torx screws at the front of the dash by the windscreen, a flexible screwdriver attachment is good for removing them:
Image

Image

Image

they are slightly smaller than the other torx bolts:
Image


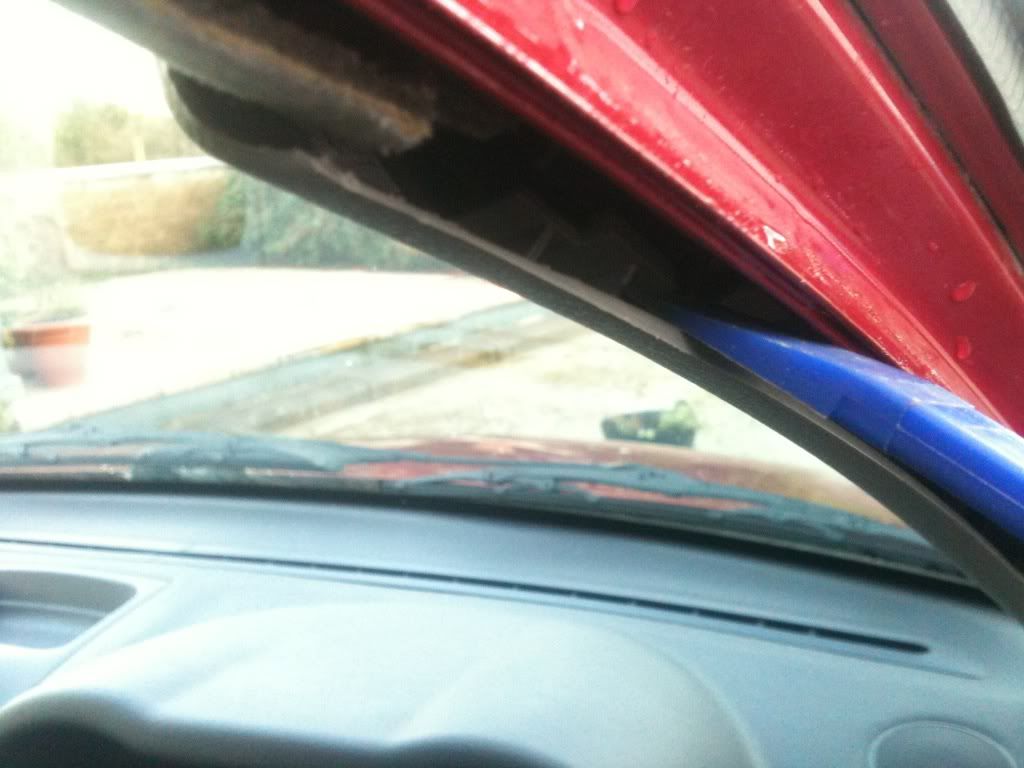
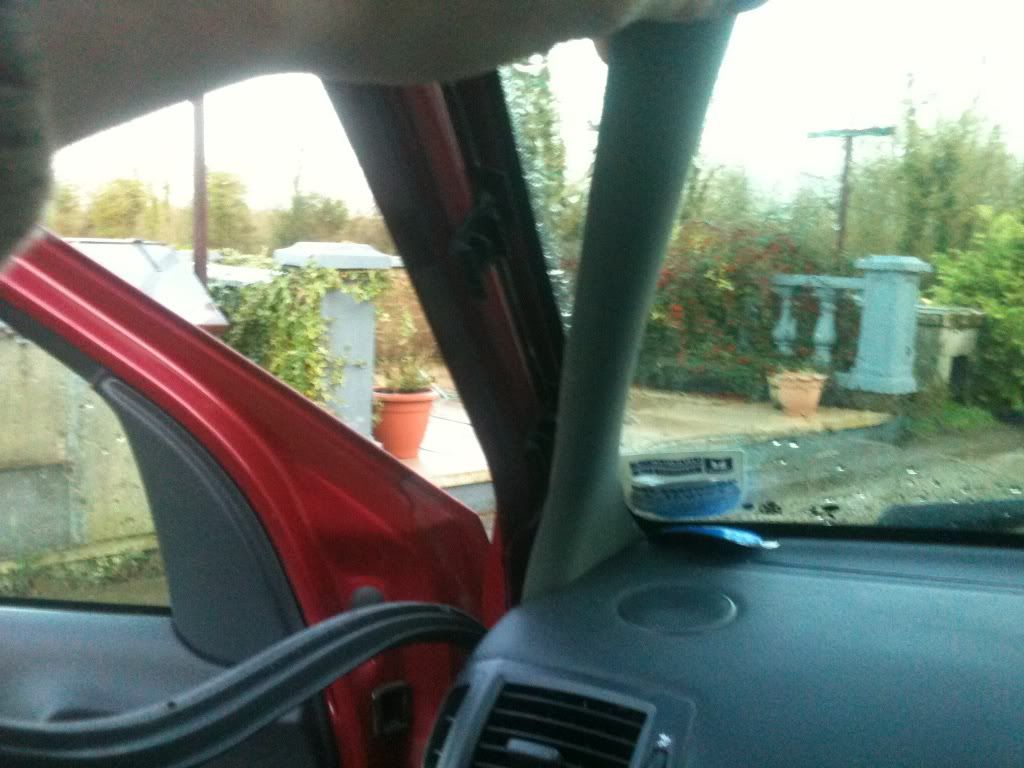
the A pillar trims looked like they were sitting in the way so they came out, it helps to pull the seals out first before prying at them, i found prying the top and then pressing in on the clip is the best way to remove them, there is another 2 clips further down but the top one needs released:
Image

Image

Image

Image

Image


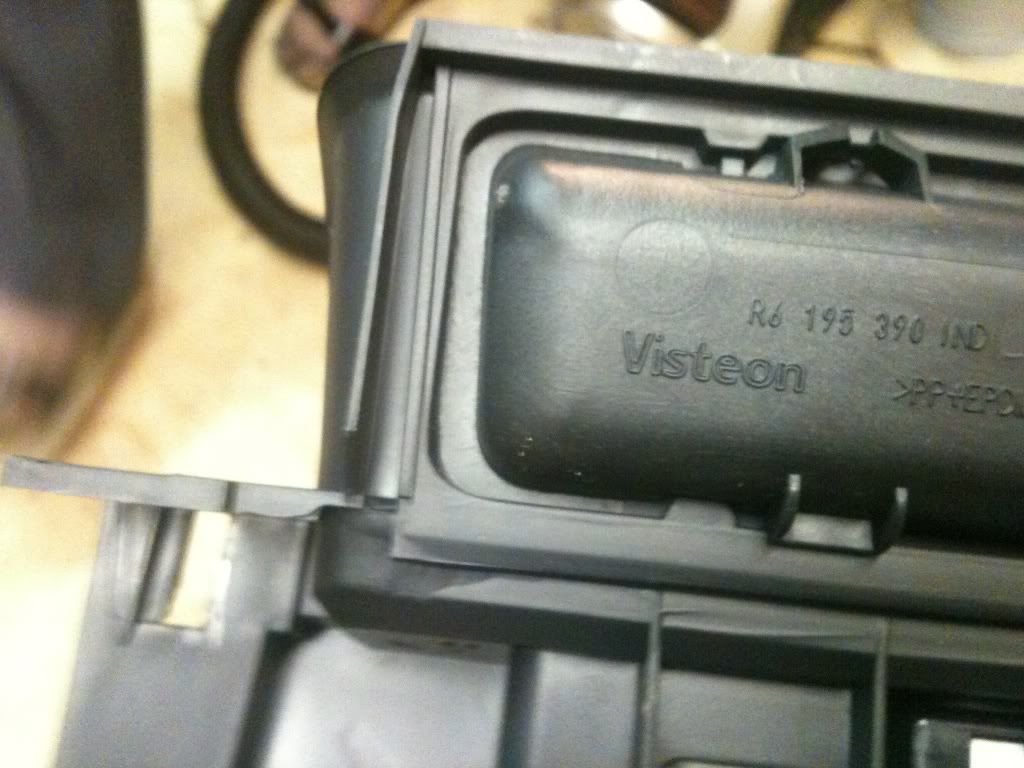
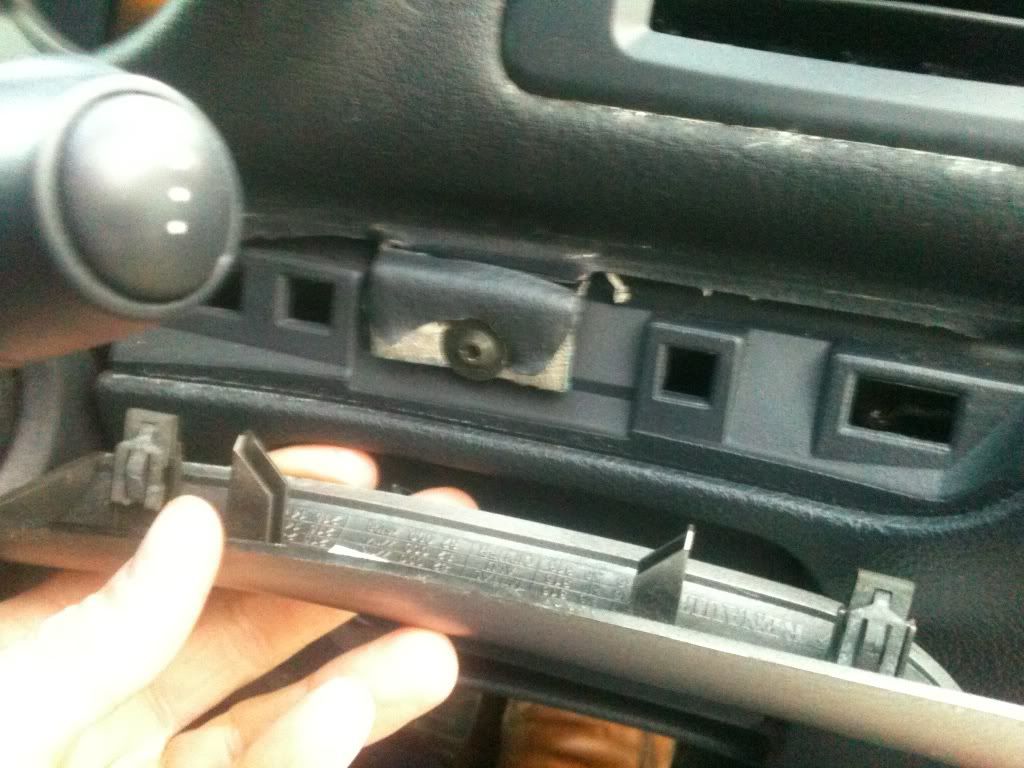
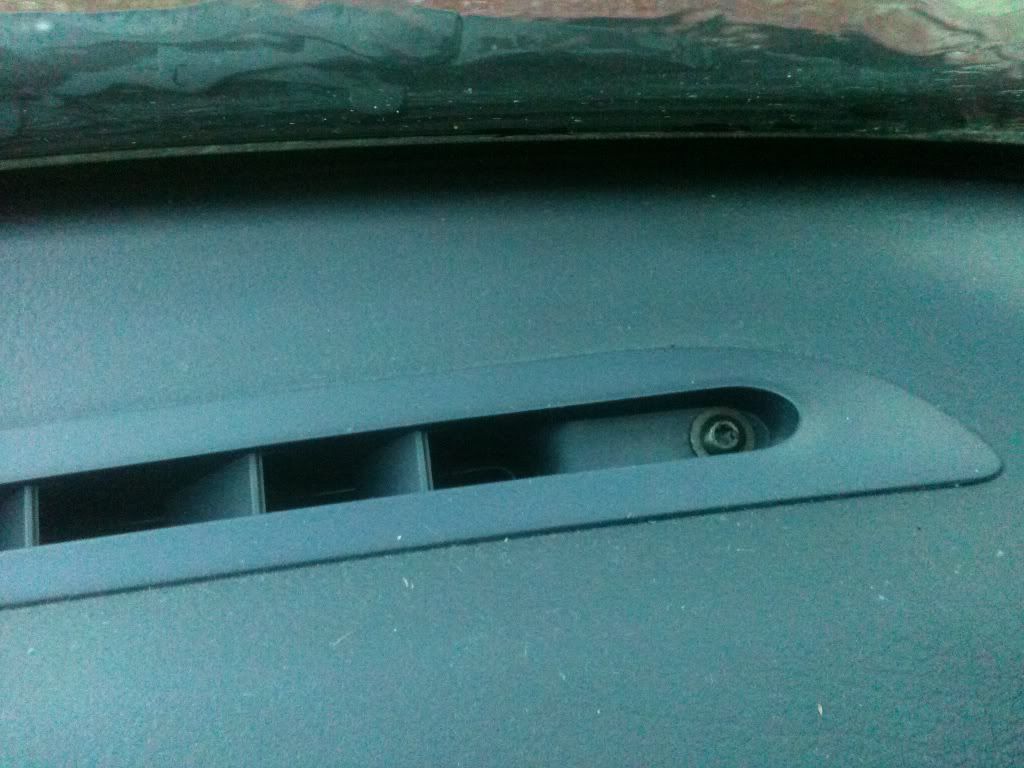
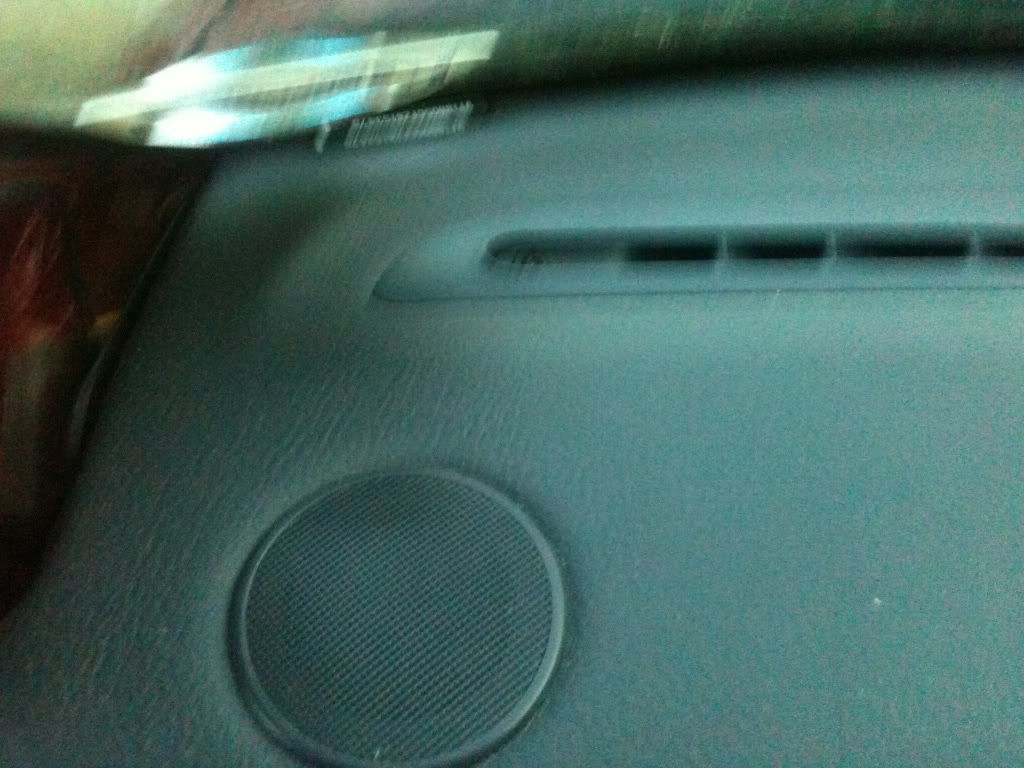
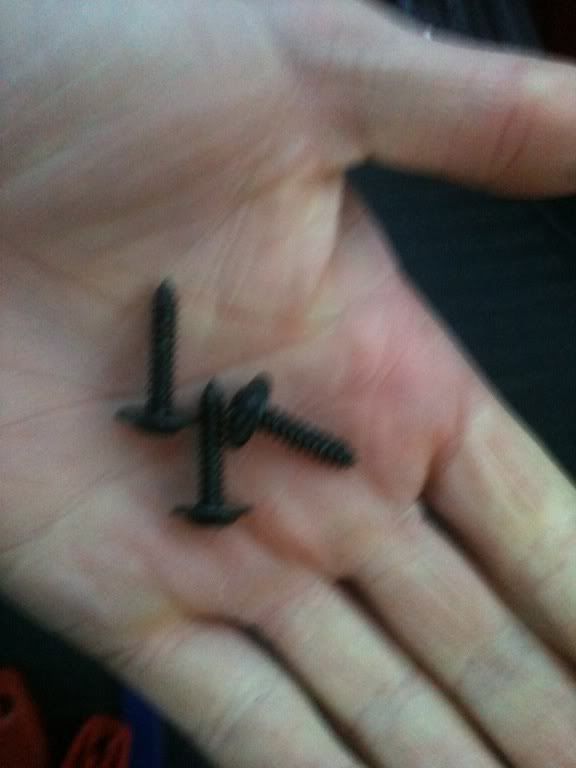
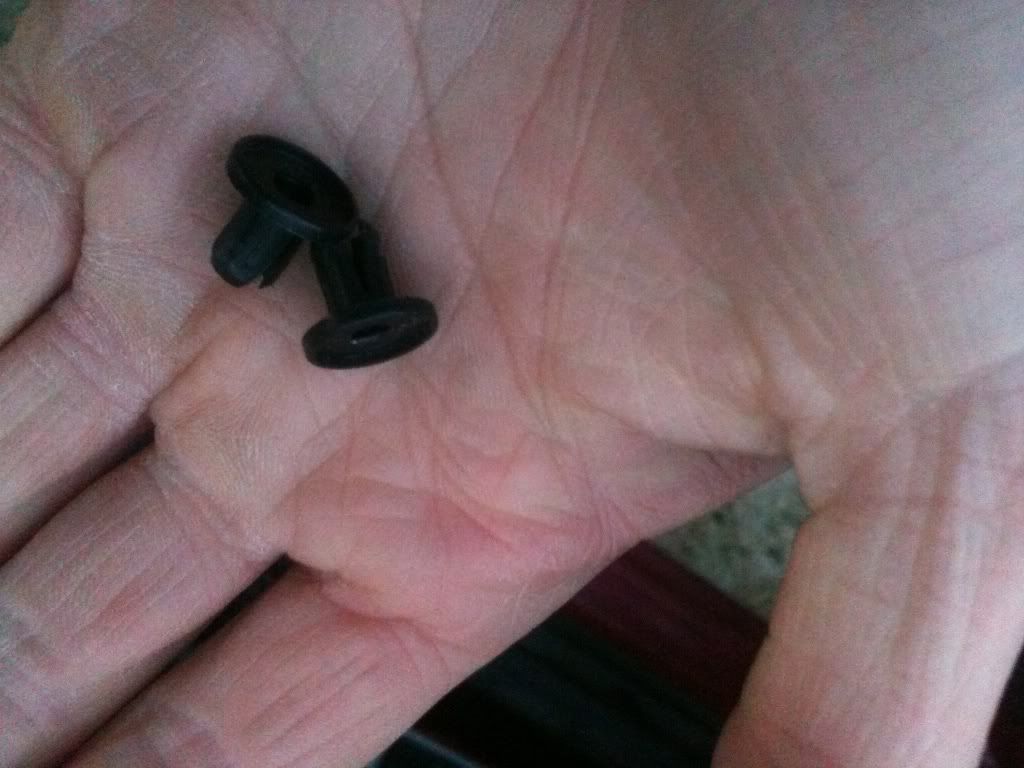
now on each side of the dash there is two small plastic rivet screws, they come out with a torx head bigger than the other screws done so far:
Image

Image

one bit unscrews and then the bit that remains can be easily pulled out of the dash
Image

Image


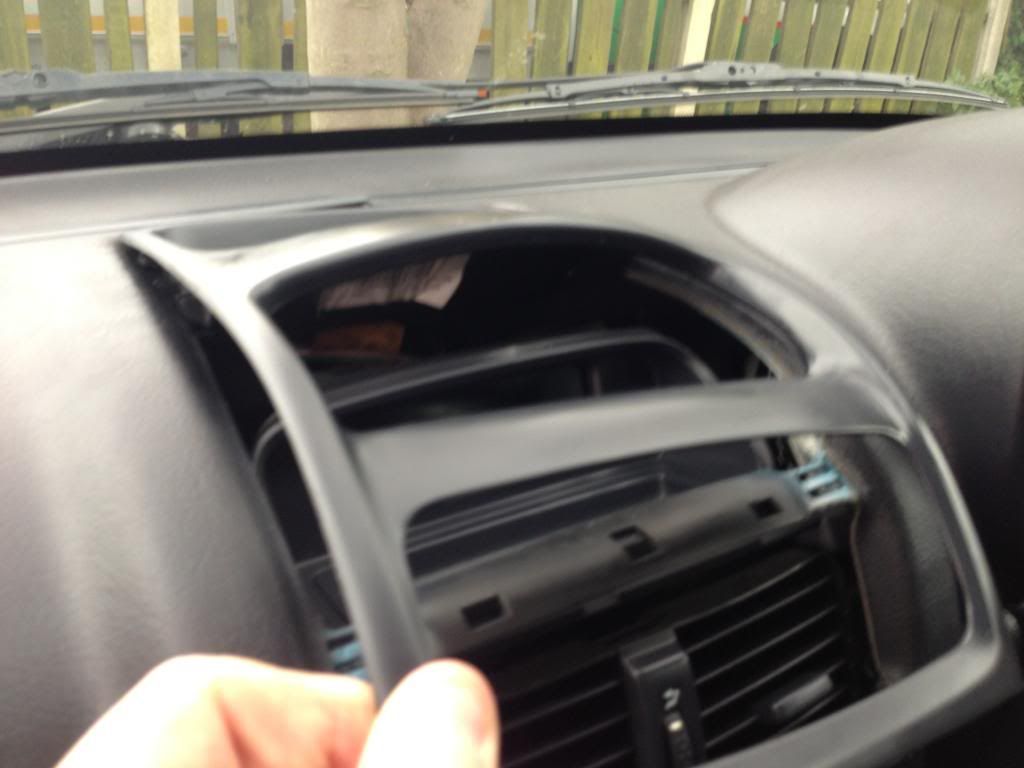
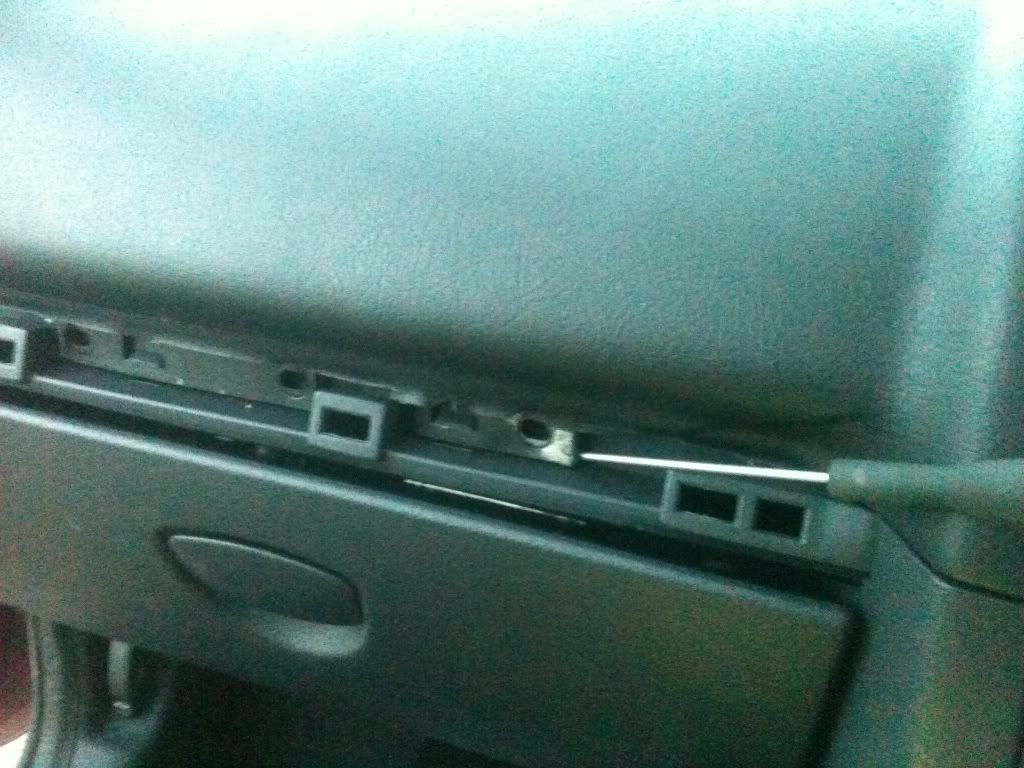
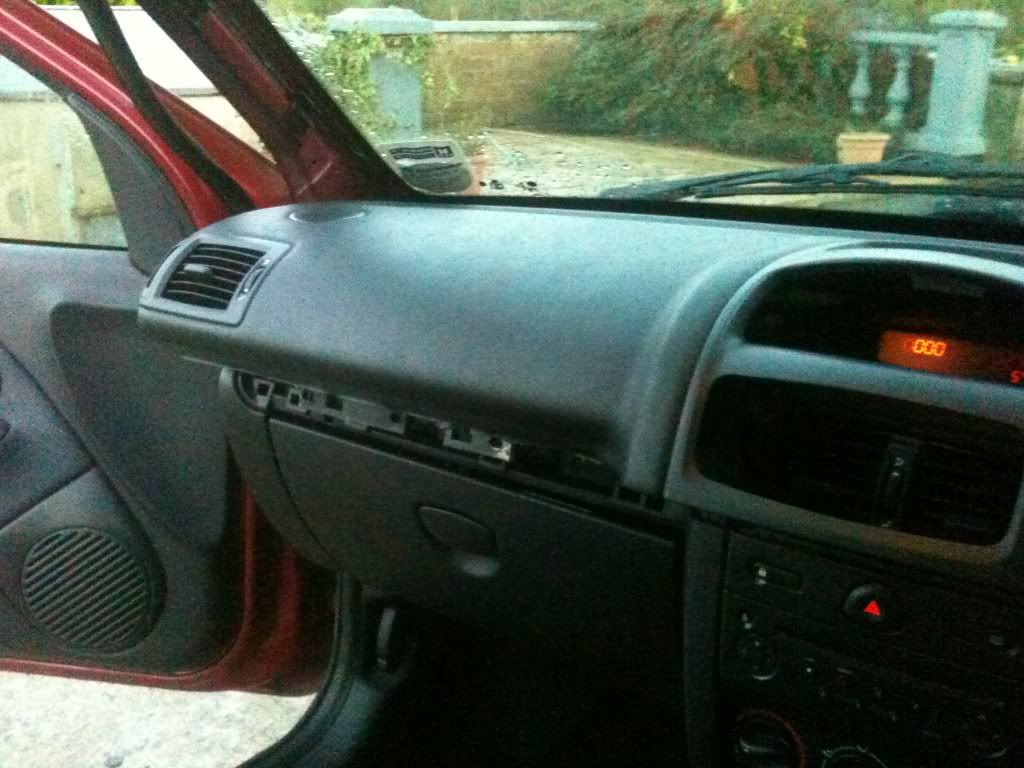
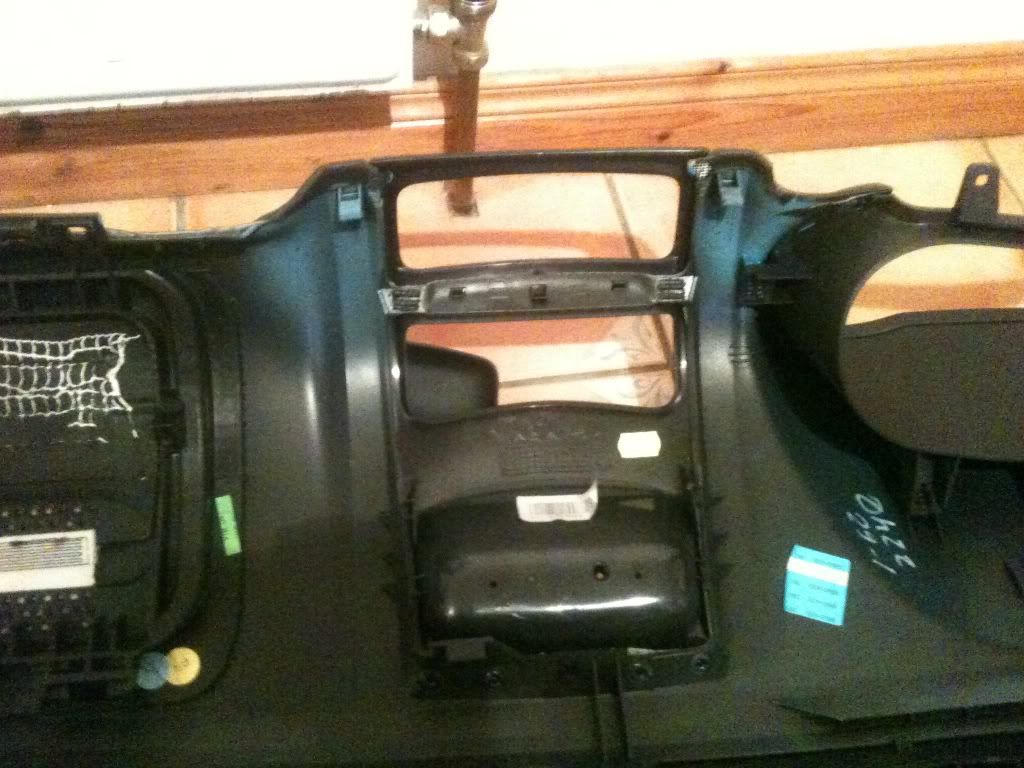
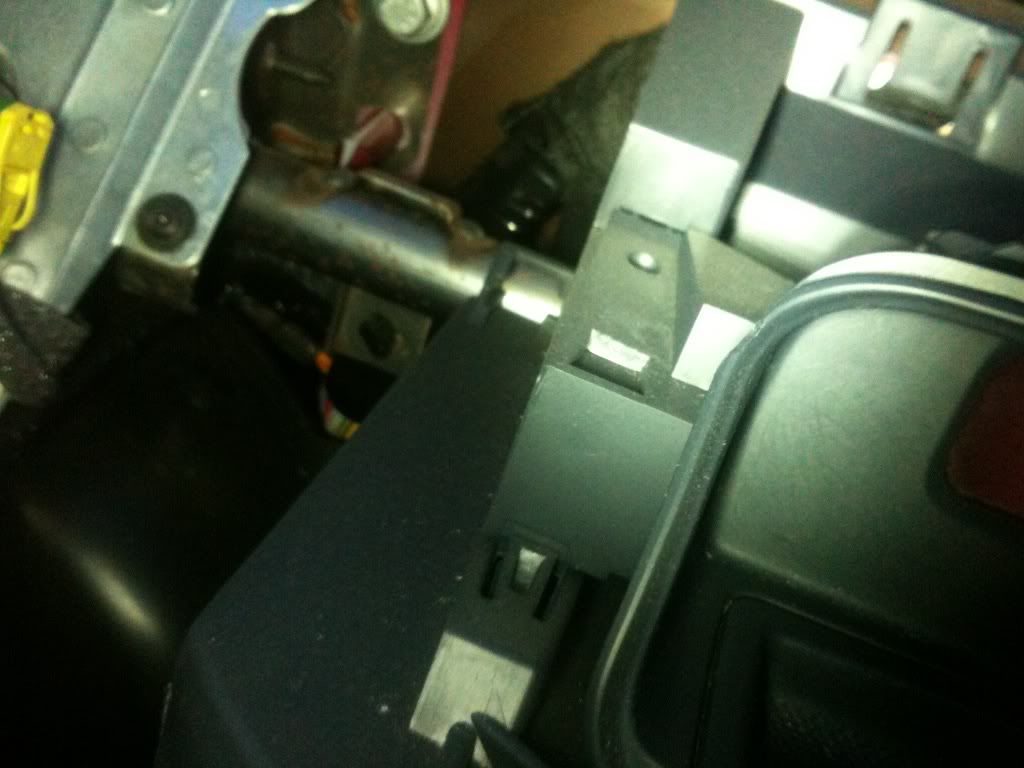
Now all the fittings are out of the way, its just a case of prying and pulling the dash out, above the glovebox needs some prying, a screwdriver is really whats needed:
Image

i put my hand on the windscreen air vent and tried to pull the dash backwards, it seemed the middle part was held in, so placing the pry tool in the gap between the central air vent seemed to release clips:
Image

Image

Image

the tools need to be pressed in quite a bit, but the dash should unclip:
Image

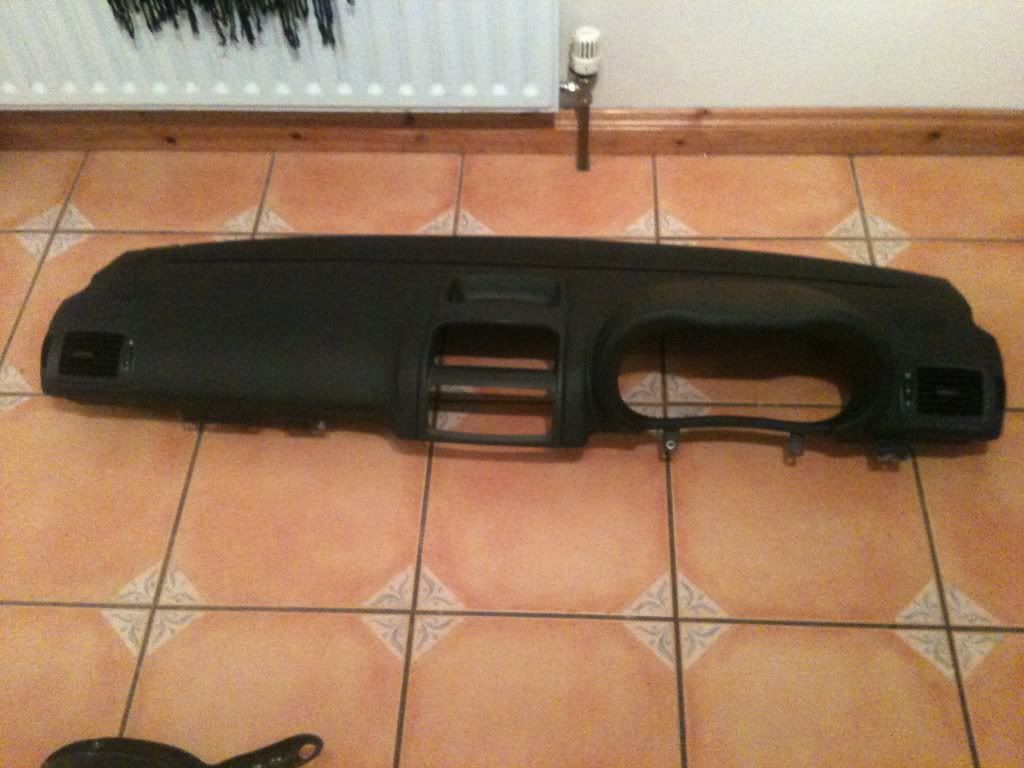
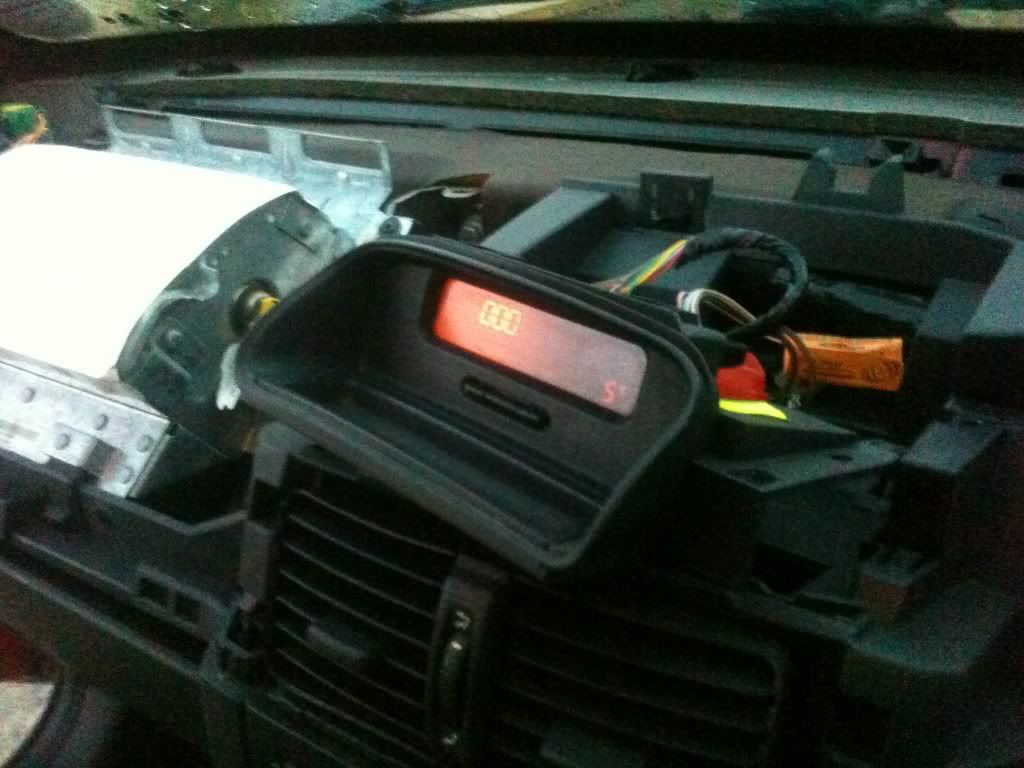
Move the part out of the car, its a bit fiddly, putting the steering wheel down helps, try not to scratch the dash when taking it out and set it down safely while you get the clock out:
Image

them clips on the inside:
Image


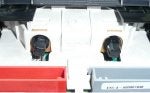
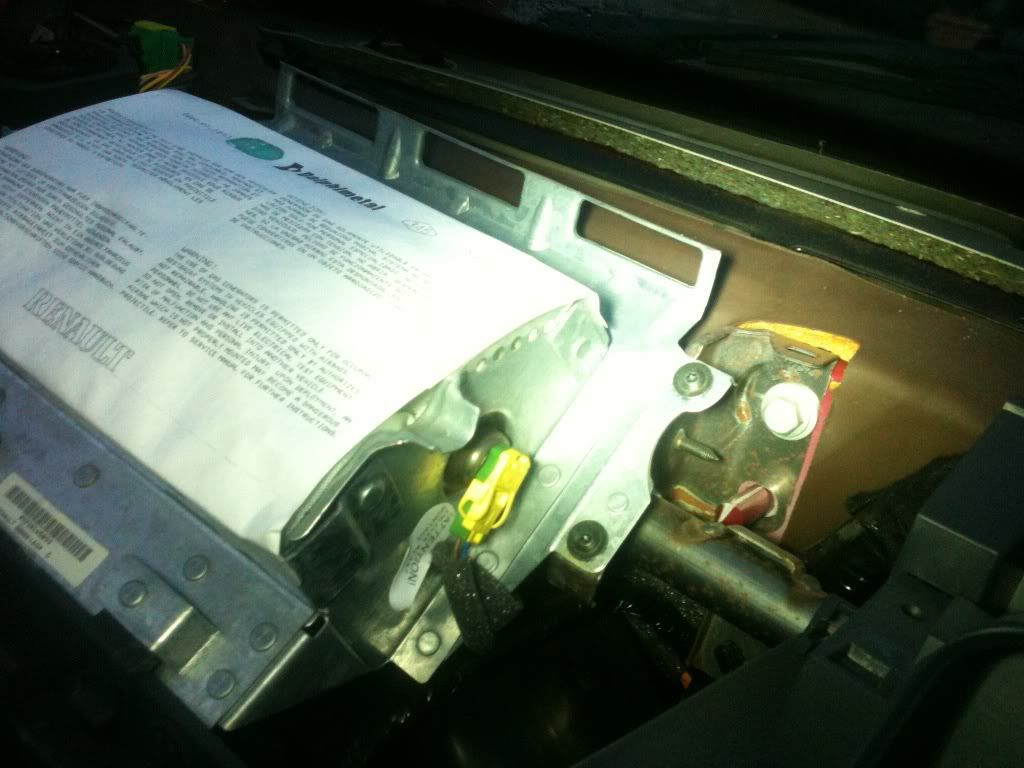
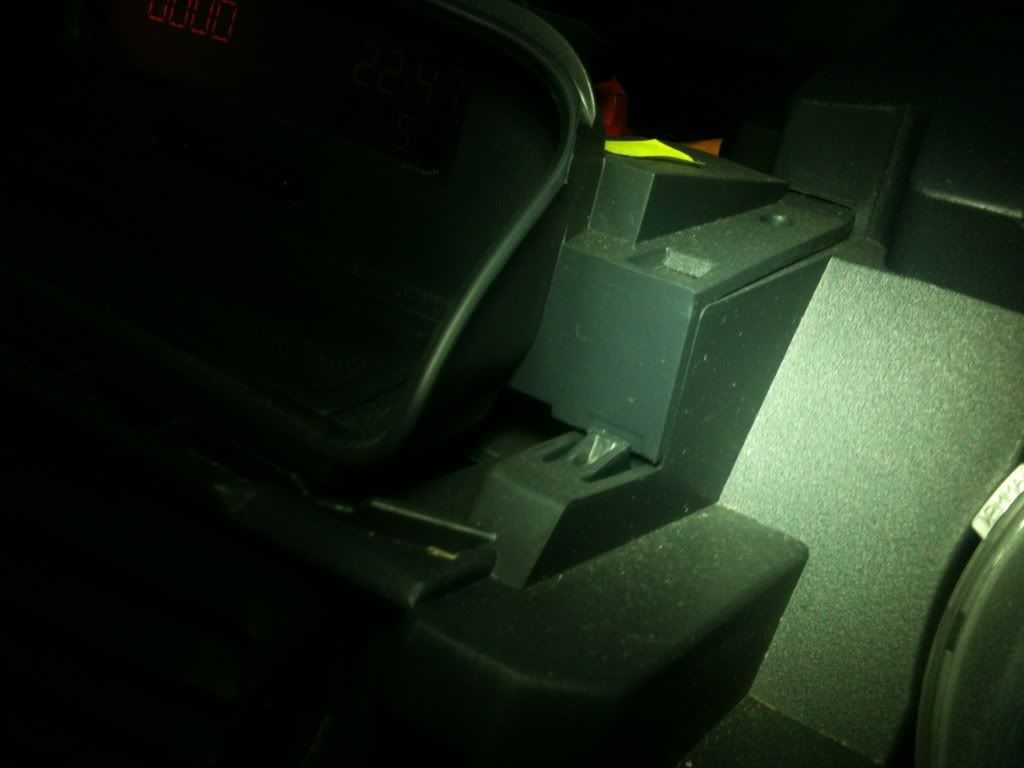
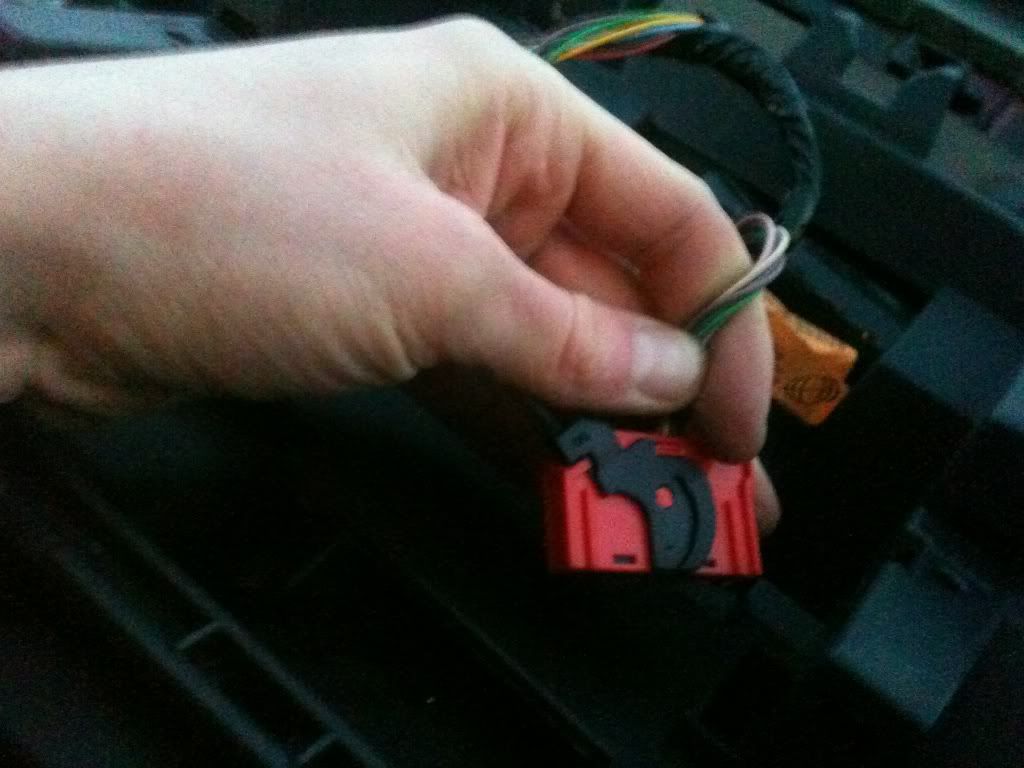
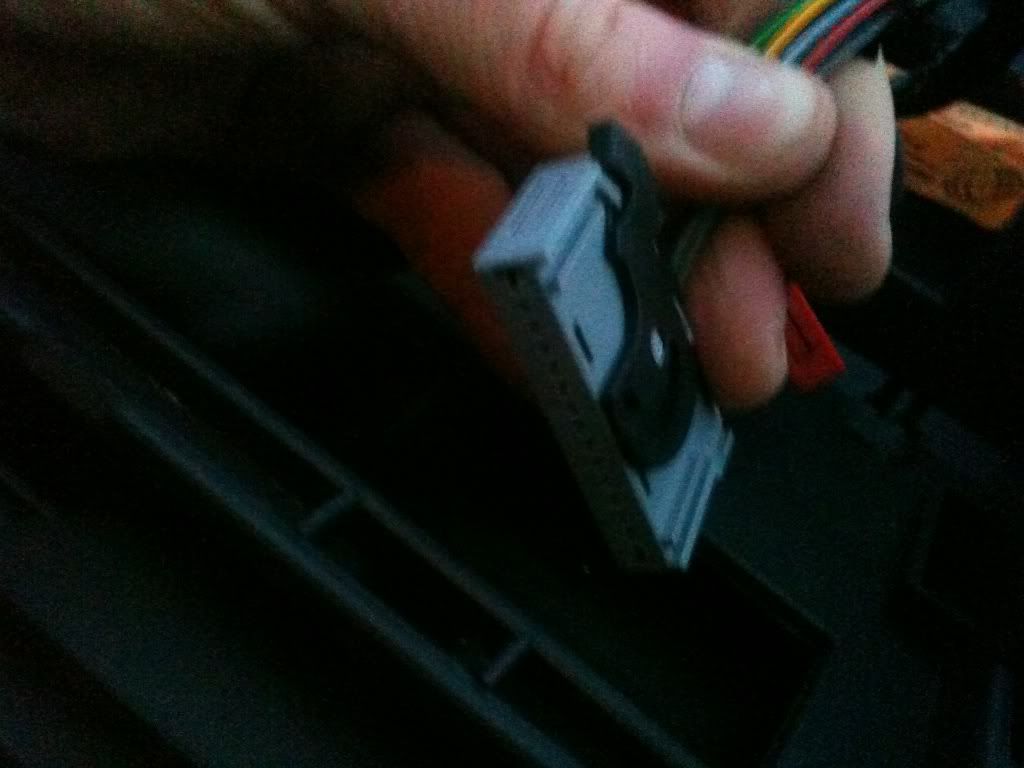
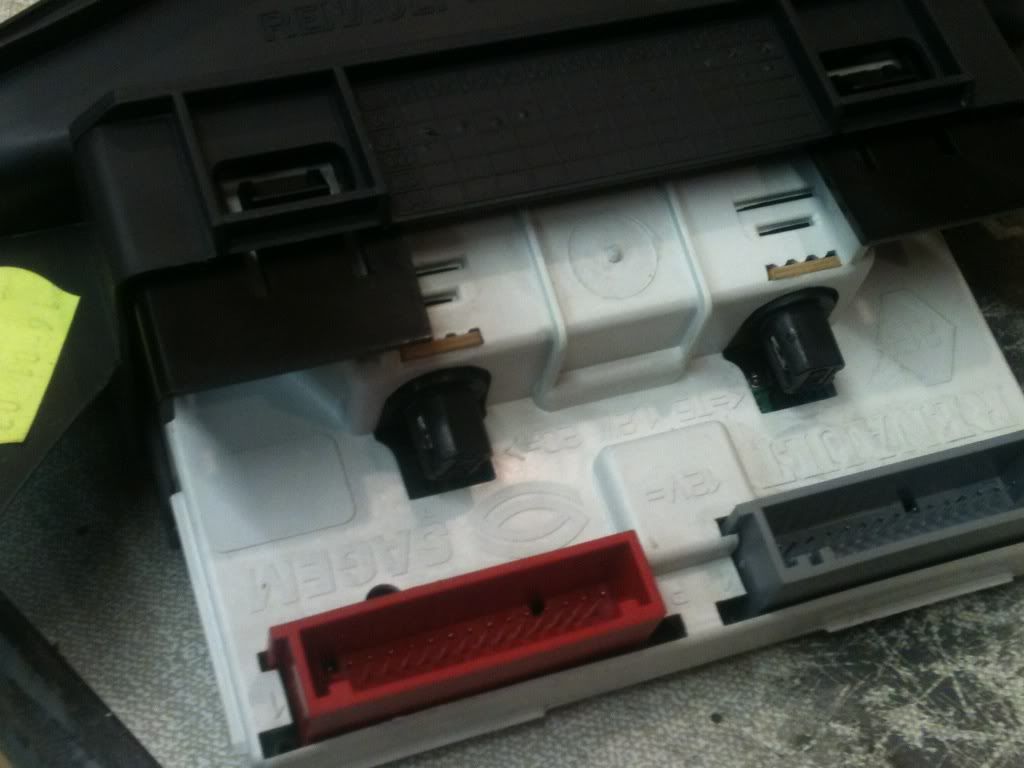
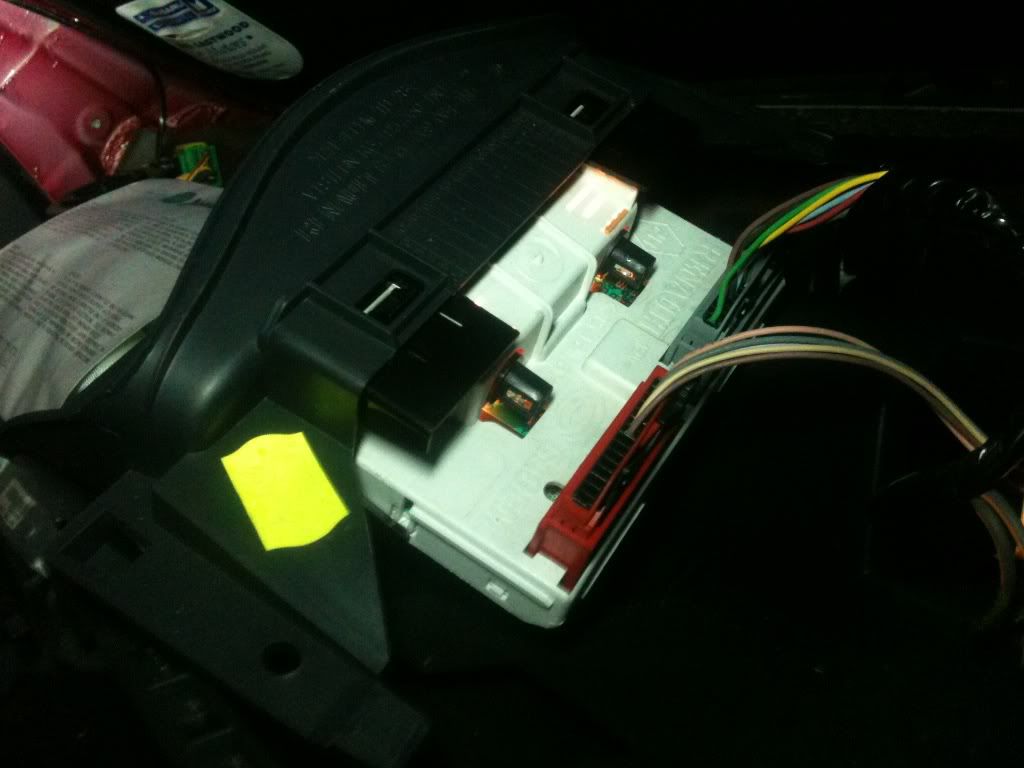
Now its time to remove the MFD, although if your speedo or airbag is at fault they seem easy to get out at this stage:
Image

Image


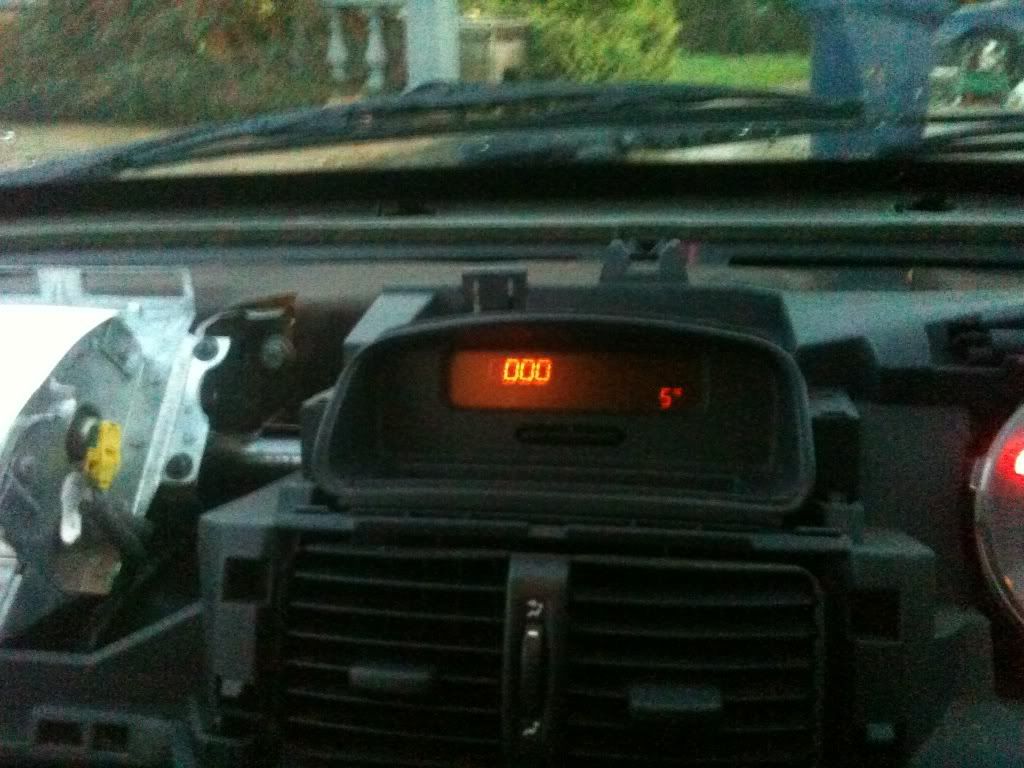
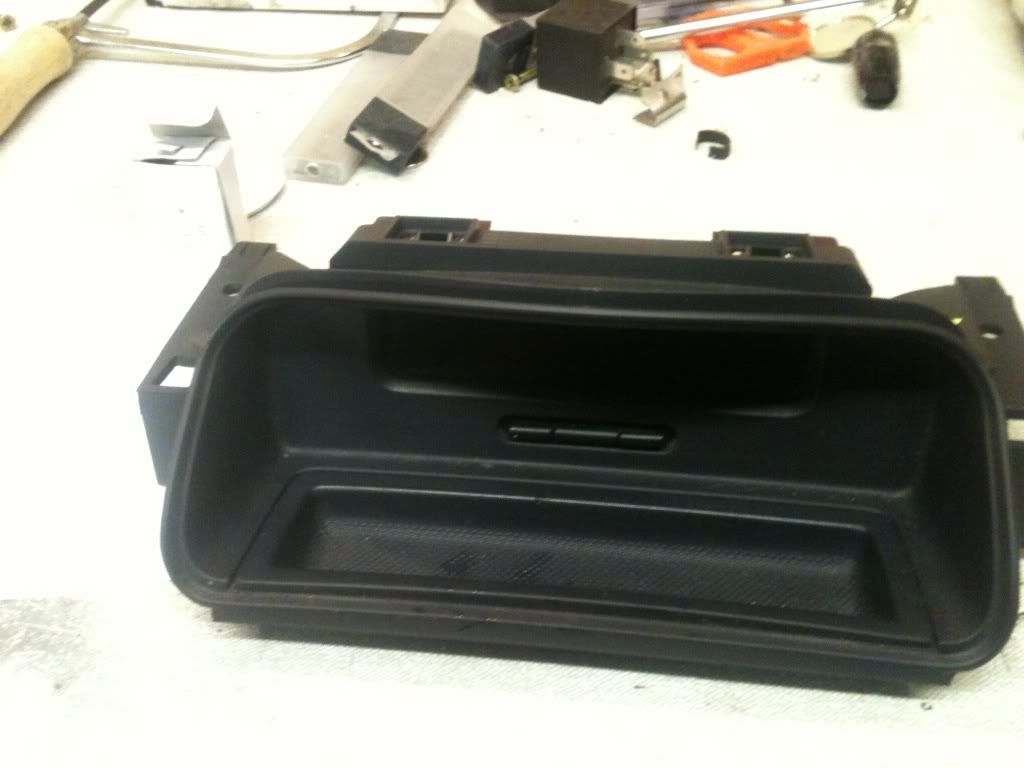
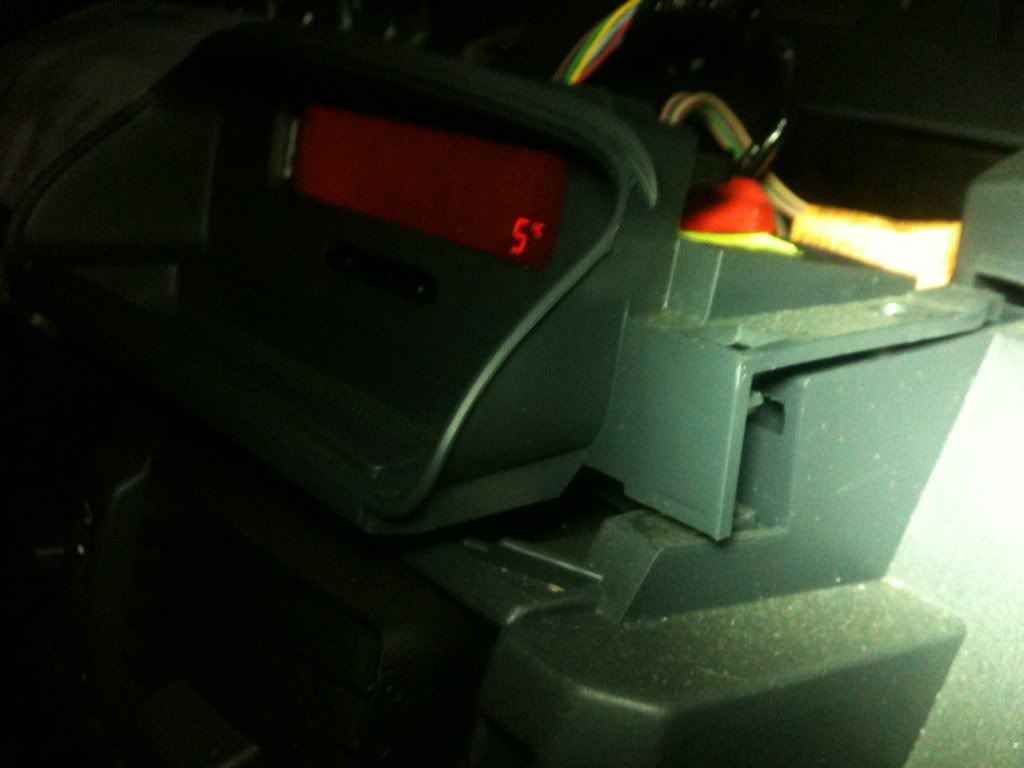
Here is the display, in my car its dim on one side which on a bright day means i can't see the time:
Image

on the left and right of the display are plastic tabs, press down on them and pull the display backwards:
Image

Image

it should now be loose:
Image

undo the clips at the back, they are them lever type:
Image

Image

Image


The display is now out of the car:
Image

you could probably just change the bulbs with it in the car i just wanted to clean the lcd.
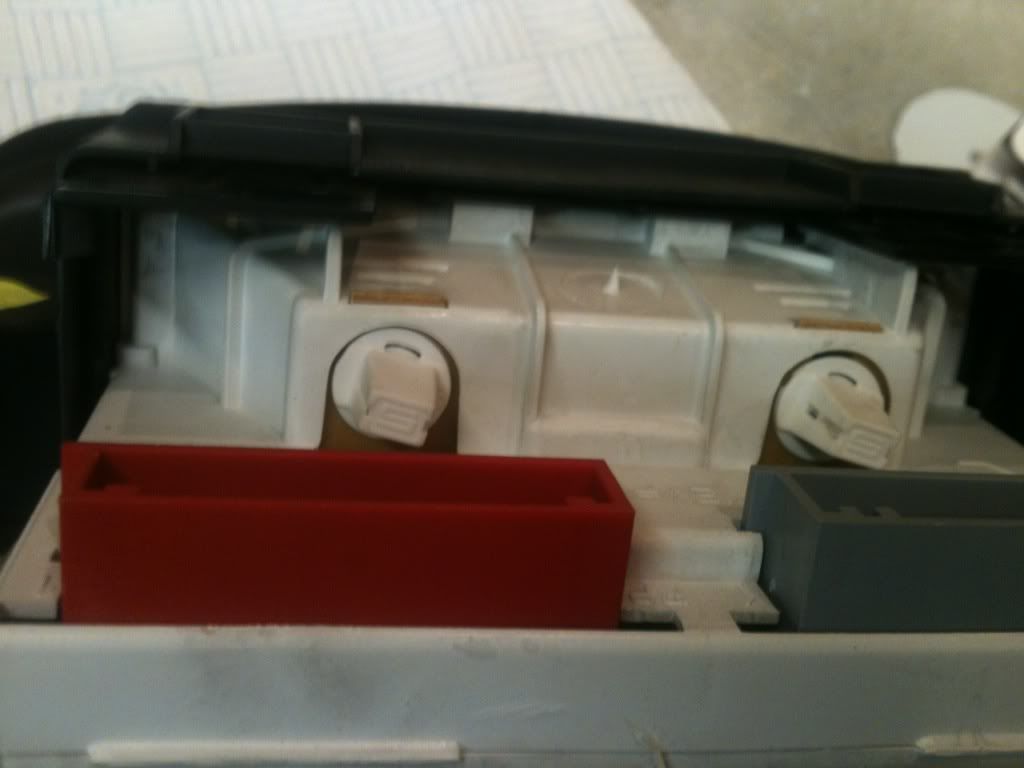
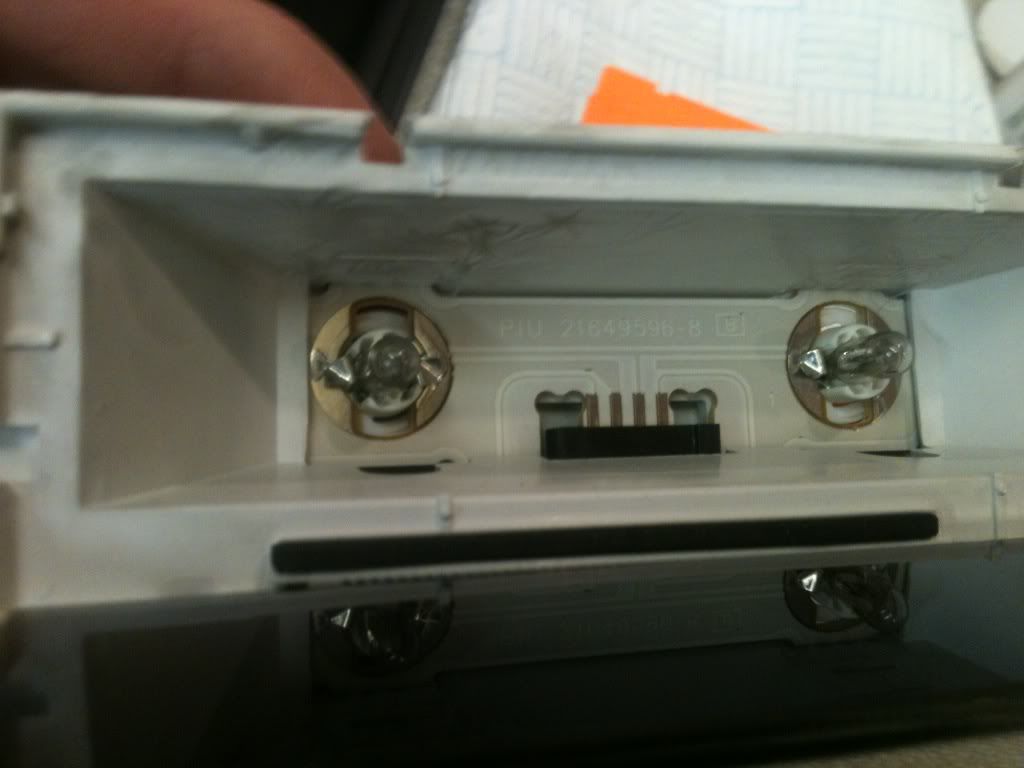
Here are the bulbs at the back they just twist out:
Image

if you disassemble the display here is how the bulbs look like from the front:
Image

the broken bulb:
Image

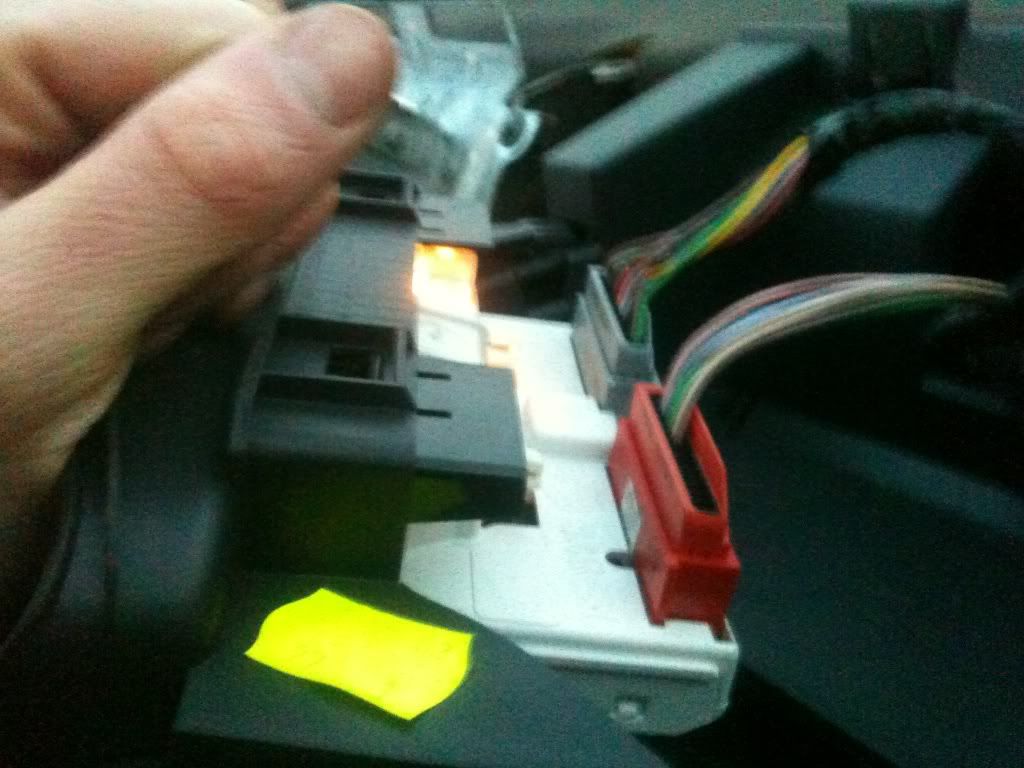
replacement bulbs are probably available on the internet, but i had a few spare 406 MFD's lying in the attic so i took two of the bulbs from them tested them on the multimeter and put them into the clios display:
Image


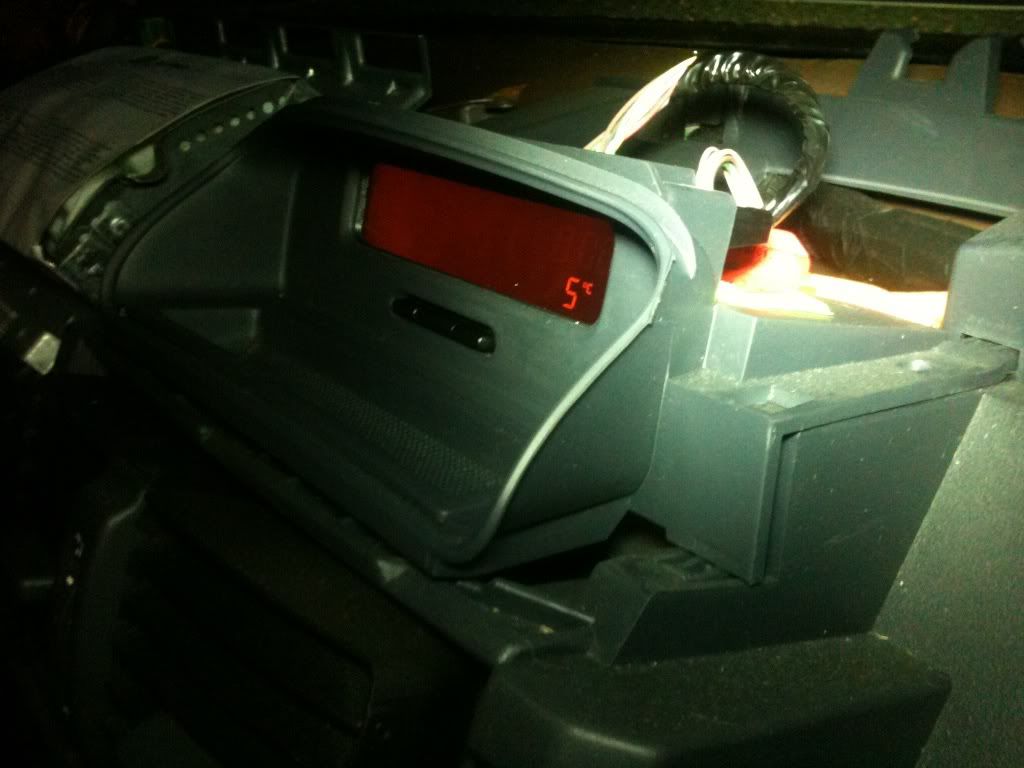
Plug the two wires back into the back of the display, now at this point check if the new bulbs work its easier now than after the dash goes on:
Image

click the display back into place:
Image

Image


Put the dash back on, its the reverse of removal, although i accidentally broke the plastic bar that goes below the speedometer pressing it past the steering wheel, although its fixed now with some superglue. Its nicer not to break it so its worth watching this part. The central clips press the dash into them i though the dash went down into them but its just straight back.
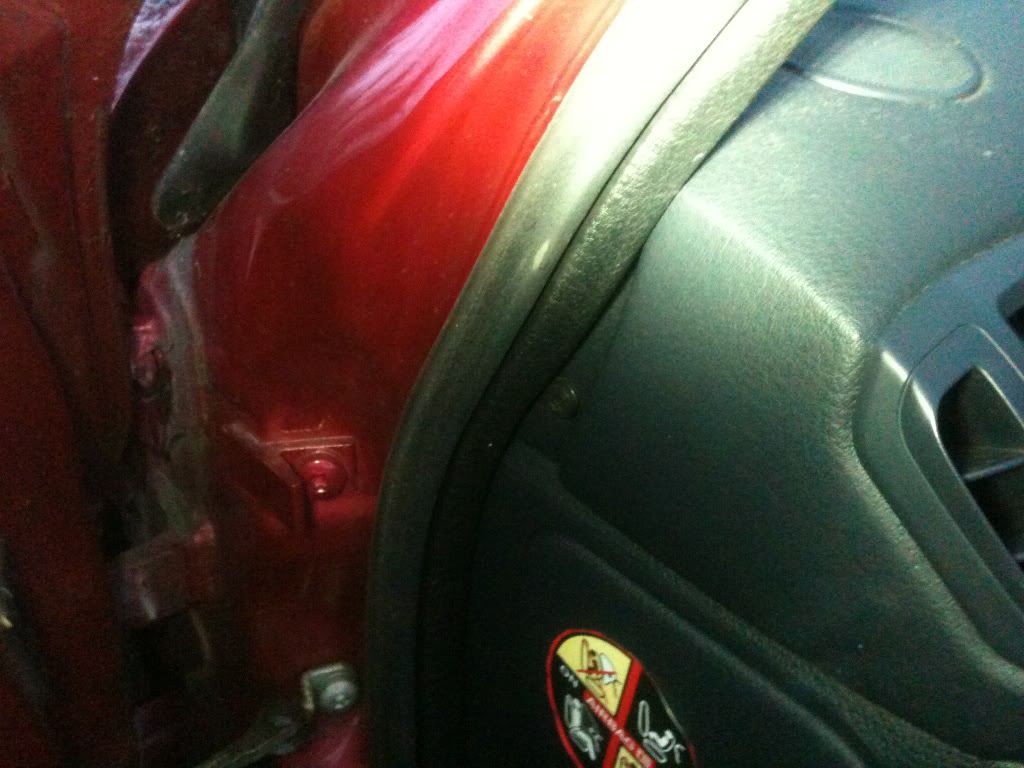
As for the A pillar trims, they need to be seated properly at the bottom for the door seal to sit right.

And here is the evenly lit display:
Image
 
#4 ·
:d:d
About an hours work to do this, but i don't think its too bad, actually renault have a good idea here, if an airbag ever needs changed this type of dash is much easier to change than on other cars. (my cousins 08 clio needed an airbag and the dash is the same as these so not too hard to change)
Although the downside of an easy to change air bag is changing the bulbs.
 
#7 ·
I broke a few 406's a few years ago and the mfd bulbs on the back are the same as the ones for the clio.

But i bought some bulbs in the past i think they are 509t bulbs:
http://www.ebay.co.uk/itm/509T-12V-...0-NEW-/280790983248?pt=UK_Hand_Tools_Equipment&hash=item4160726250#ht_500wt_922

There are led ones available on ebay i don't know how they would look like in the clio display, any brighter and the light filter might not be able to hide the outline of two bright bulbs.

A bit of advice with new bulbs especially if your putting them into the clio with it being a bit tricky to get to them, the two legs on the side. It helps to bend them down a bit so they sit in the holder tighter. I had a problem in my pug when i put the bulbs in they would flicker over rough roads pressing in the legs stopped that problem.
 
#8 ·
I broke a few 406's a few years ago and the mfd bulbs on the back are the same as the ones for the clio.
That probably means they bought them from a common supplier, like Visteon for example.

Thanks for the eBay link, I will check those out.

Also being an electronics engineer, I may simply be able to replace the bulbs with an LED and resistor from Maplin.

Thanks ... John
 
#9 ·
you can get bulbs of that shape with led's in them, i just don't know how long they will last.
Visteon is a name i do recall seeing on the casing around the display, i always thought they did ford stuff.
 
#12 ·
Not sure how LED's would react to the dimming of the display when the lights are on.
 
#13 ·
LED's should dim just like normal bulbs, i always find them brighter than an incandescent bulb when given the same voltage.
I don't want to have to take my dash apart again but I'm interested in seeing what LED's look like, here is some more pictures of the display setup with the light filter:
Image

Image

if you ever get fed up with orange could these be swapped for a blue one?

And here is the visteon name i seen on the back:
Image
 
#14 ·
You should have a medal awarded for tenacity and for a brilliant post:d

As usual as you know it's a lot easier taking items apart but when putting it all back together is totally different animal so can I ask how long to reassemble this project.
 
#15 ·
If you went into business prepping and selling these guides Haynes would go bankrupt overnight :d

I do hope I don't have to use this, as it looks like a horrendous faff (not quite as bad as my Astra's "dismantle the ENTIRE dashboard and centre console to change one little trim bulb", but far worse than the old Polo's "undo four screws, struggle and curse for a bit... voila, you've removed the dash clocks") ... but will certainly be back should any of my bulbs go pop!
 
#16 ·
I enjoy making these guides, i always take pictures when im doing work on a car so its not much harder to make a guide of it, and hopefully it can help someone.

As for putting it back together, it took about 20 mins, i must admit i broke the plastic bar that goes along the bottom of the speedo, not completley but it cracked a bit, clicking the middle clips below the air vents was a bit tricky but with a bit of a push they click back ok.
 
#19 ·
I did this all with the battery still in, the dash top part just lifts off its a big slab of plastic. the airbag itself is mounted to a metal frame below this top.
in the event of a crash the force of the airbag would blow a hole through the dash top where it has been designed to open at.

But no need to take out the battery this doesn't really affect the airbag, although if you do want to take out the airbag, i would advise removing the battery and waiting 30 mins.
 
#21 ·
Remember my radio code youtube video, someone has asked how to replace the radio bulbs i tried to link to the thread but it wasn't allowed, although i gave a good description of how to get to it.

Although I discovered iMovie on my computer and had a bit of fun, here is a youtube guide i made:

 
#22 ·
Guys, I have just completed the bulb change in less than two hours including driving to the car spares shop for the bulbs. Here are some notes for people who read this thread in the future along with some pictures, maximum brownie points from the wife :d

1) Thanks to Farmerpug for the video, I loaded it onto my iPhone and played it back in the car, knowing where the screws were saved a lot of time and frustration.

2) The sequence is good, the only comment I would add is that the A-pillar plastic covers have a P-clip arrangement at the top, don't keep pulling at it, simply use a screwdriver to push the P close and it will pop out :confused:

3) If you don't have a flexibly screwdriver for the top of the dash then don't panic, the screws are not in that tightly an adjustable will work fine.

4) I got replacement generic bulbs from my local spares shop (motor factor) for £3 the pair.

5) Note they are not exactly the same as the Visteon originals, Visteon offset the pins. The replacements do work but they are a little loose when fitted, so I measured the distance from metal connection to flange and there was a small difference (about 0.1mm) so I used small pliers to decrease the gap and they are a firm fit. Also the replacements rotate past vertical because they don't have the offset but still make good contact with the PCB inside the unit.

6) An alternative to using the replacement parts is to remove the bulbs from the original part, they are standard wire-ended bulbs. You can take them out the replacement parts and insert them in.

7) Don't work on the car in the cold, it was about 6 Celcuis when I started the job and the plastic dashboard broke as I was trying to get it past the steering wheel. It does not show once re-assembled though.

8) Assembly was MUCH MUCH easier than I had antissipated, the dash goes back into place really easy and all the screws re-align perfectly :cool:

Kindest Regards ... John
 

Attachments

#23 ·
Good advice, I'm glad the video helped that was my idea with the video is that its easier to take to the job on a phone or something similar.

Thanks for the bit about the a pillar i just couldn't find the way to describe that clip at the top but you are right it needs pressed inwards.

The flex screwdriver attachment is one option, as is the adjustable wrench way you have used, another would be a 1/4 ratchet with a bits holder.

And the advice about the cold is really important, you have broke it in the same place as i did then, its not noticeable if every things in place, it just seems to snap easy.

Glad it helped, and thanks for your additional advice.
 
#26 ·
Hi, newbie here :d My dad tried following an online video tutorial of removing dash, etc to change the blown bulbs in my '99 Clio (apparently it's a MKII - sorry I've no idea what that means :eek:) but the dash didn't seem to have the same fixings as shown.

The rounded radio/clock display looks like it might just pop off without needing to remove anything else.... is this correct? And if not, does anyone have a link explaining how to replace the bulbs for my model?

Many thanks
 
#27 ·
1999 would be a pre facelift mk2, they had a different style of dash and therefore them videos i made would not apply to your car.
However if the clock bit doesn't pop out it might be the same as the newer dash where the top bit comes off, I've removed the top off a mk3 clio and it was very similar to my own.
 
#30 ·
Thanks to Farmerpug for that outstanding tutorial on how to remove the dash. As a followup, I'd just like to say that I needed to change the bulbs today in my partner's 2002 1.2 16v Expression and followed the guide only as far as loosening the dash; it remained more or less in situ.

I discovered at this stage that the section of the dash that covers the display and comes down as far as the middle air vents is merely clipped to the main dash (I say "merely"; it's actually very firmly clipped). With a bit of effort through extremely careful prying, it's possible to loosen this to separate it:

Image


After this, it's simply a case of changing the bulbs as described above (a quarter-turn and pull). It's a little fiddly, as you can't see the bulbs very well, but easy when compared to removing the entire dash:

Image


The only warning I'd give is that it seems as if it would be very easy to break the clips holding this section in place; that I didn't was more down to luck than anything else.

Anyway, I just wanted to point that out, and I hope it helps others looking for a solution in a way that the original posts helped me.